


Pool Waterfall Installation Guide
Follow our comprehensive, step-by-step master visual walkthrough to anchor, plumb, and beautifully finish your custom pool waterfall kit safely.
Tools & Hardware Required
*Requirements may vary slightly depending on your specific waterfall model and pool coping curve.*
Power Tools & Hardware
- ✔ Hammer Drill
- ✔ Hand Drill or Impact Drill
- ✔ 3/8" Concrete Drill Bit (Min. 6" Long)
- ✔ 3/8" Wide x 3" Long Wedge Anchors
- ✔ 3" Exterior Deck Screws
- ✔ Standard Heavy Hammer
Plumbing Components
- ✔ 6–10 ft of 2" PVC Spa Flex Tubing
- ✔ Schedule 40 Couplings (Appropriate Size)
- ✔ Heavy-Duty PVC Cutter or Sawzall
- ✔ Commercial PVC Primer & Cement Glue
Staging & Finishing Kits
- ✔ Min. 14 Pressure-Treated 2x4 Blocks (8" Long)
- ✔ Sharp Straight-Edge Trim Knife
- ✔ Universal Rocks Hand-Touch Up Kit
- ✔ Carpenter Pencils or Layout Chalk
Step-By-Step Visual Instructions
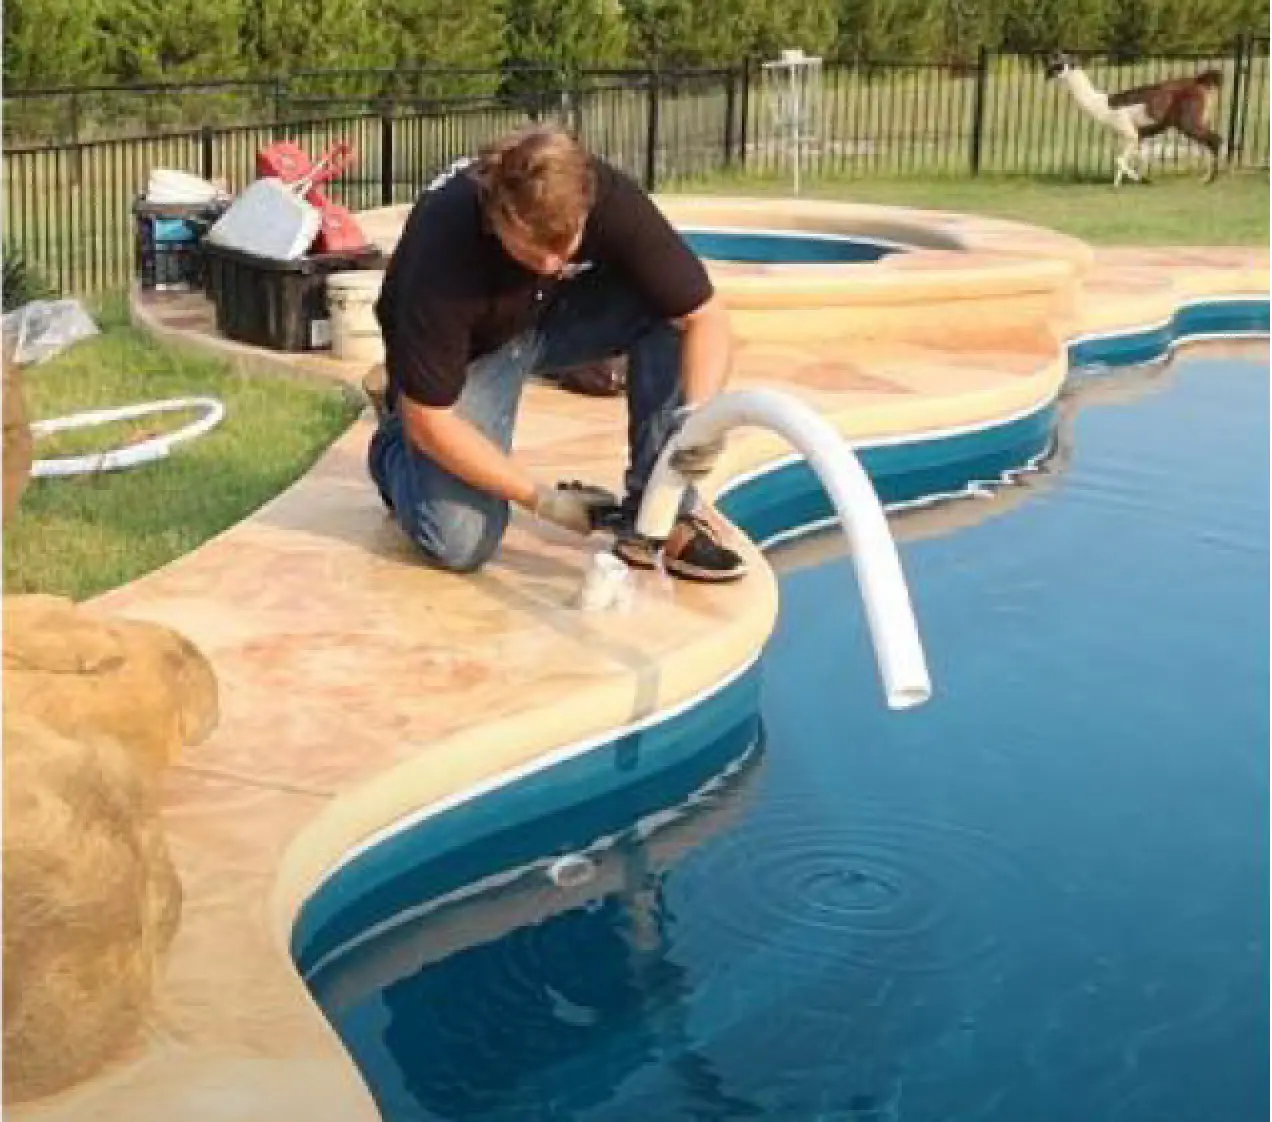
A 2" return PVC pipe should be stubbed up from the pool deck canvas. Cut if needed, leaving roughly 6" to 8" of exposed line.
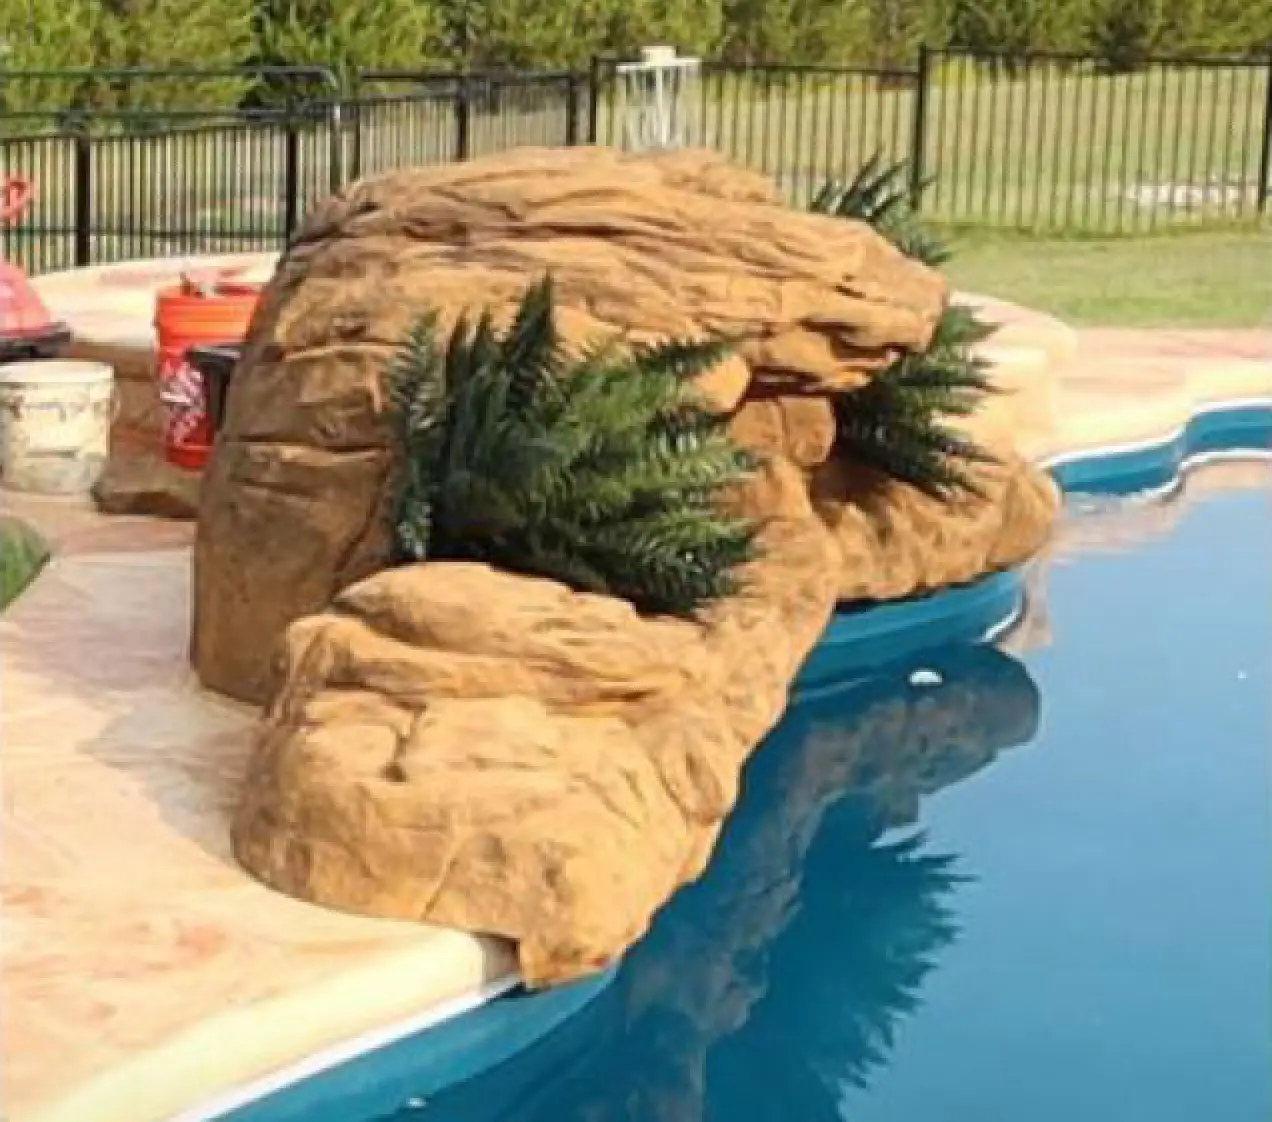
Dry-fit position the main rock waterfall and side accent stones directly over your stubbed-up 2" plumbing pipe.
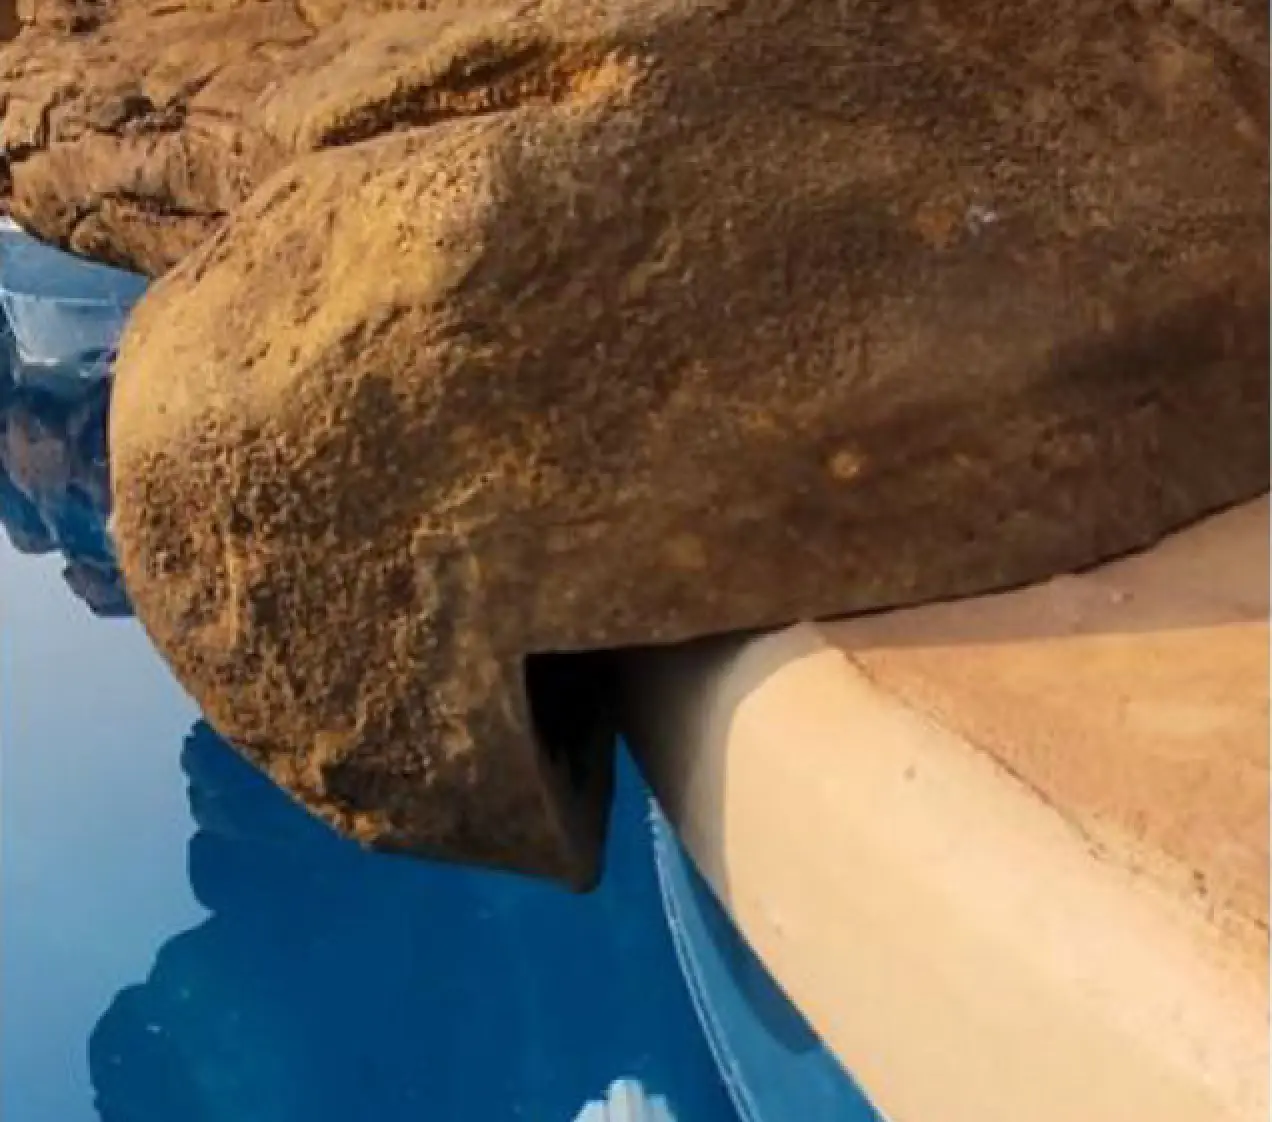
Inspect carefully for any uneven gap profiles where the polymer shell meets the contour of your pool coping deck.
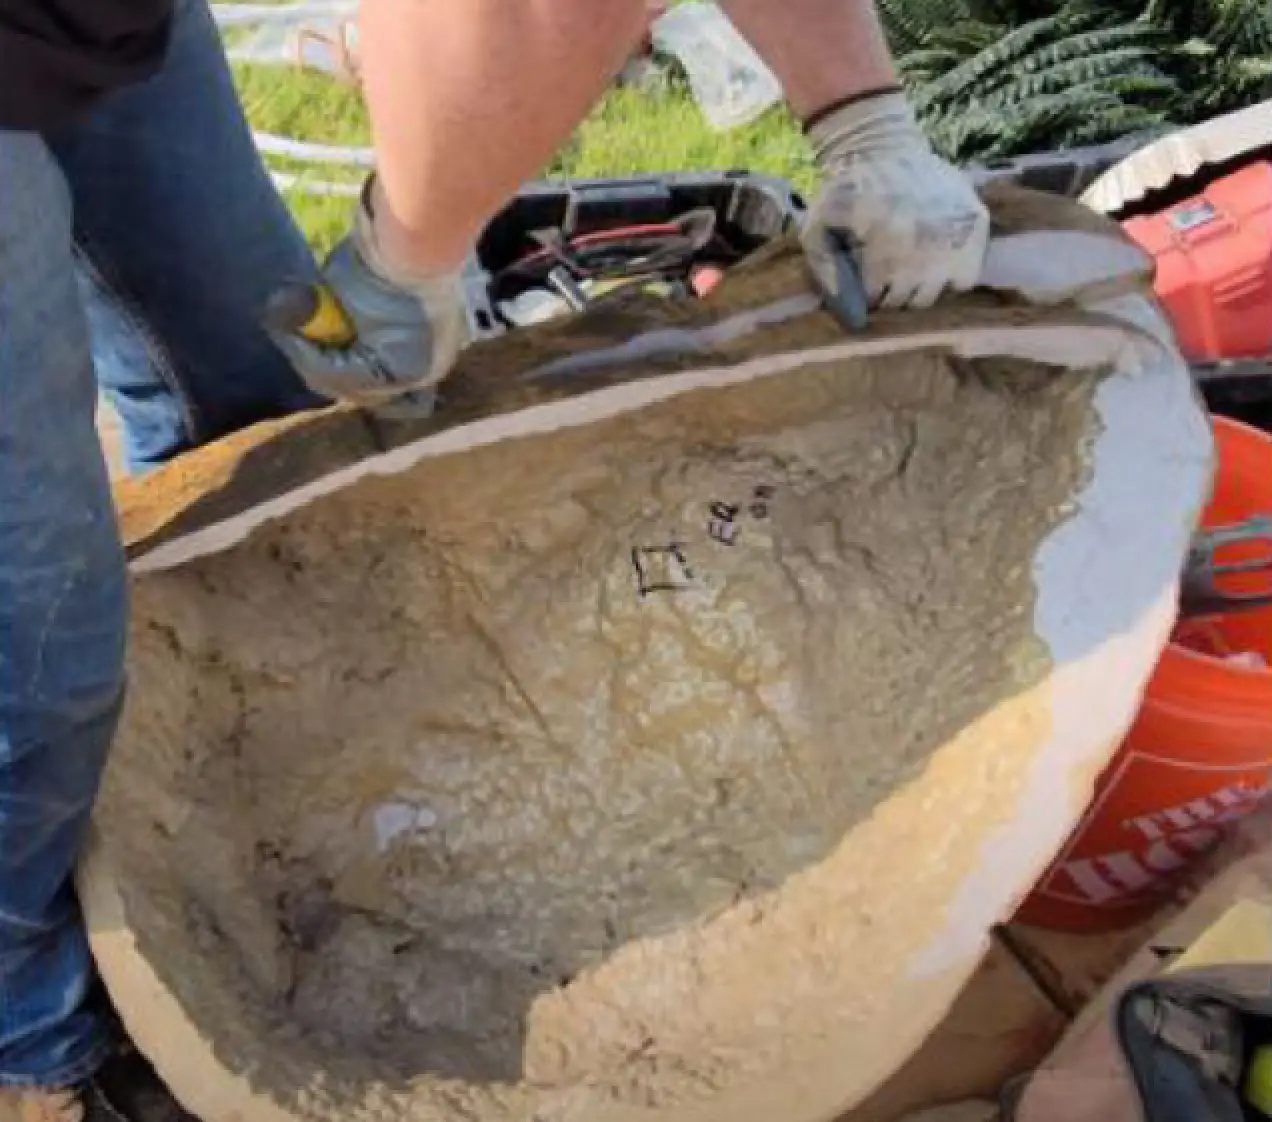
Pinpoint contact high-spots along the pool coping rim and shave the flexible stone edge evenly using a sharp straight-edge knife.
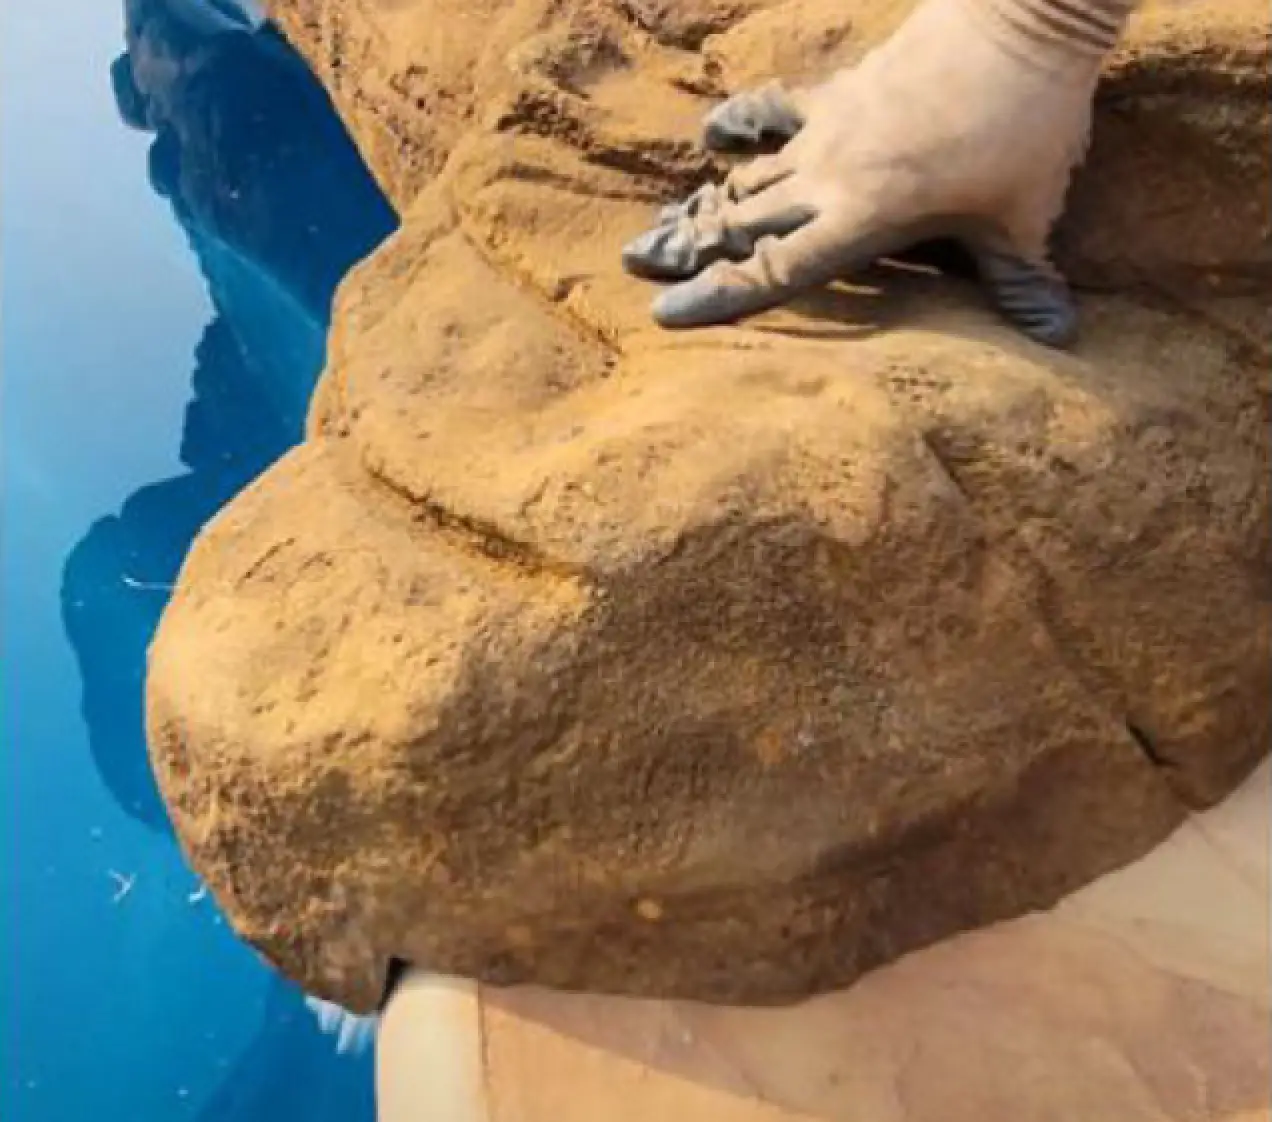
Re-evaluate the seating fitment flush against the deck coping structure. Continue detailing cuts until sitting completely flat.
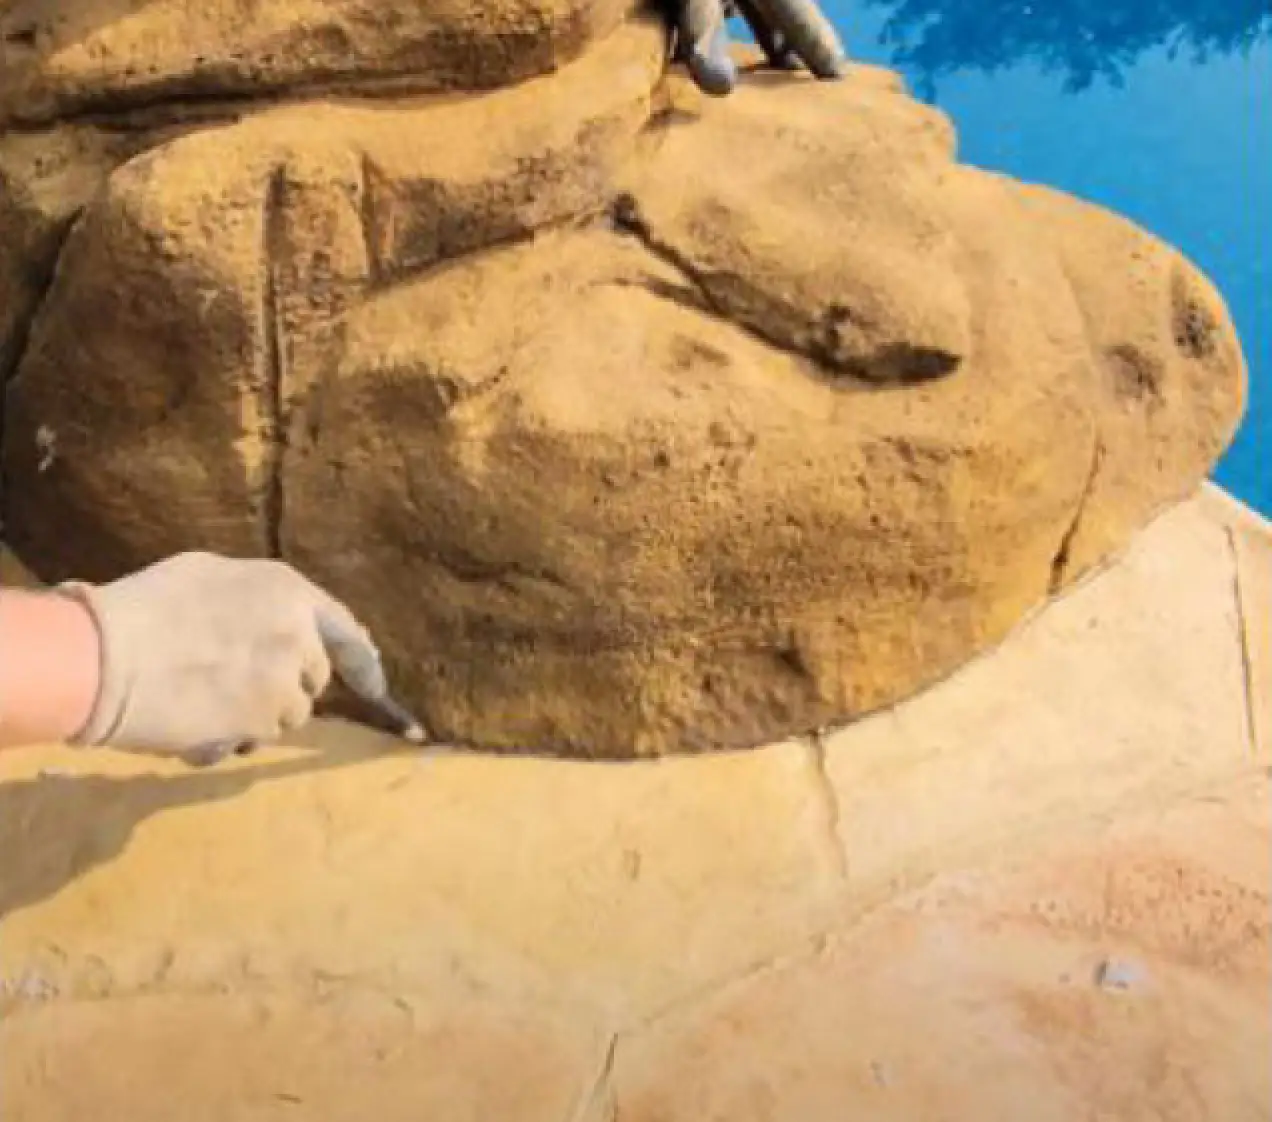
Once you are completely satisfied with the layout coordinates, outline your rock boundaries neatly using layout chalk or pencil.
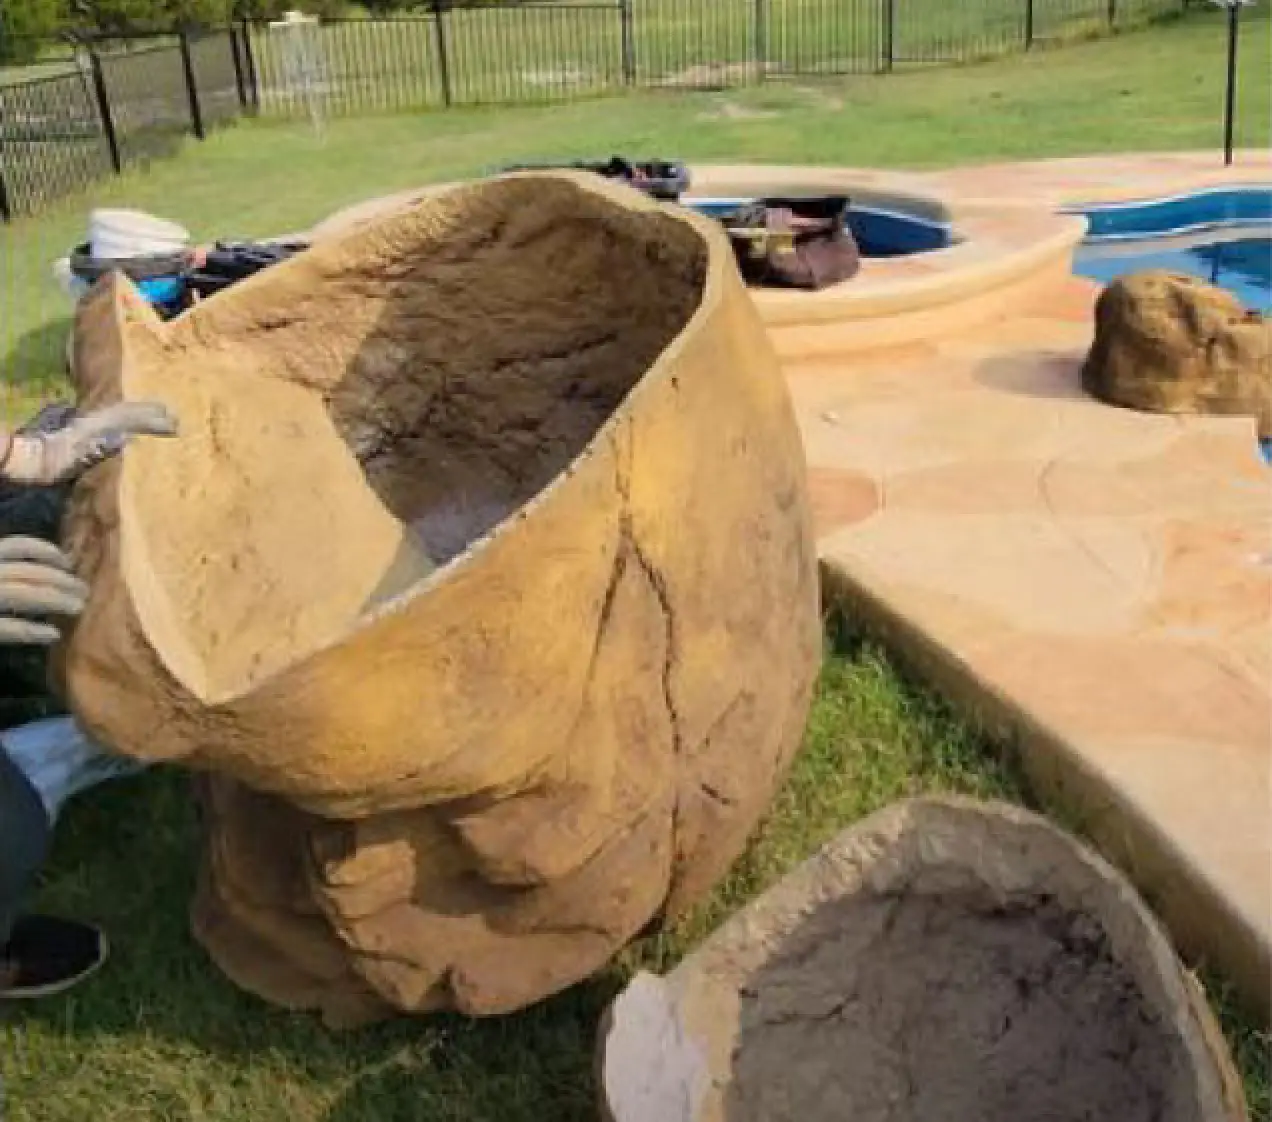
Carefully flip the rock components backward out of position, staging them securely right behind your drawn outline layouts.
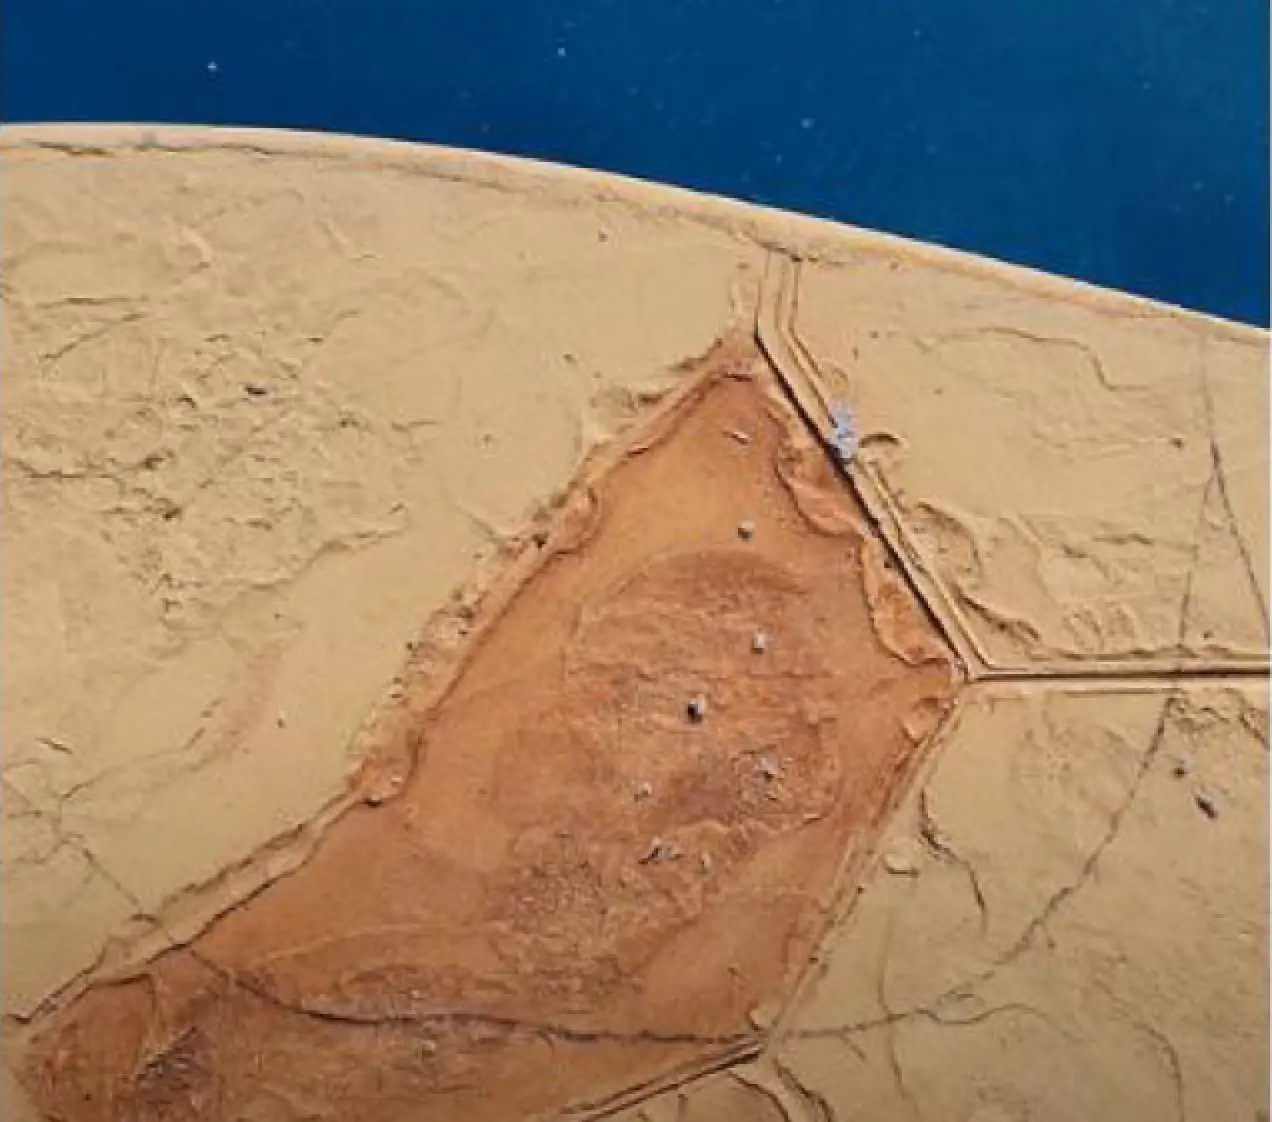
Your finalized alignment trace marks on the pool concrete deck should match this clean, organized example setup reference.
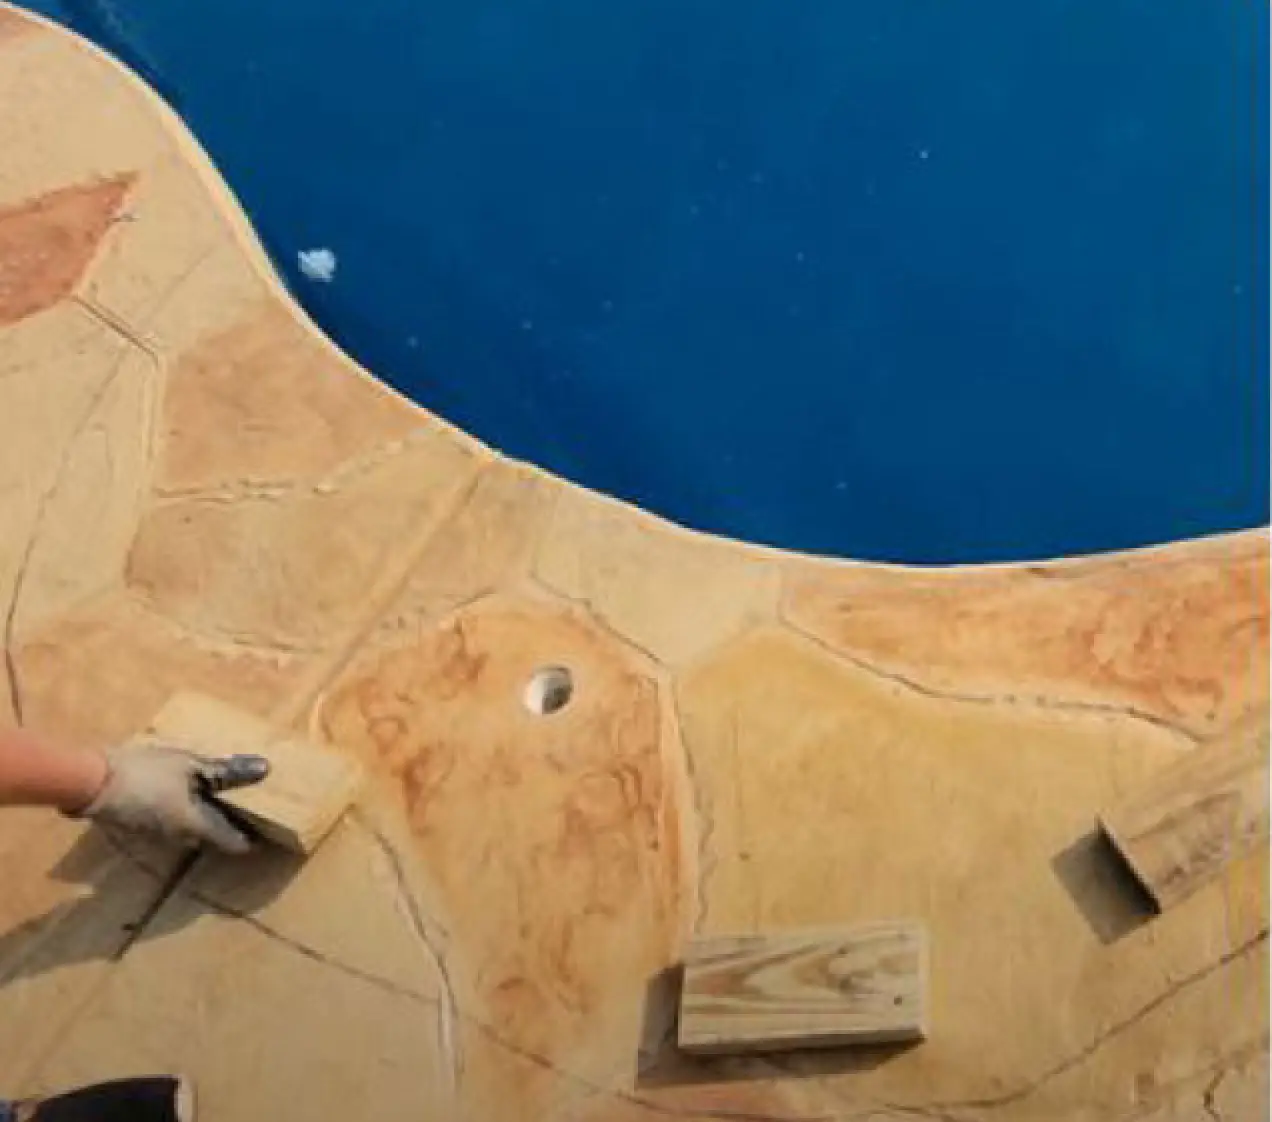
Position internal 2x4 blocking inside the trace boundaries (allocate x3 per side accent rock, and 5 or more for primary waterfall framework).
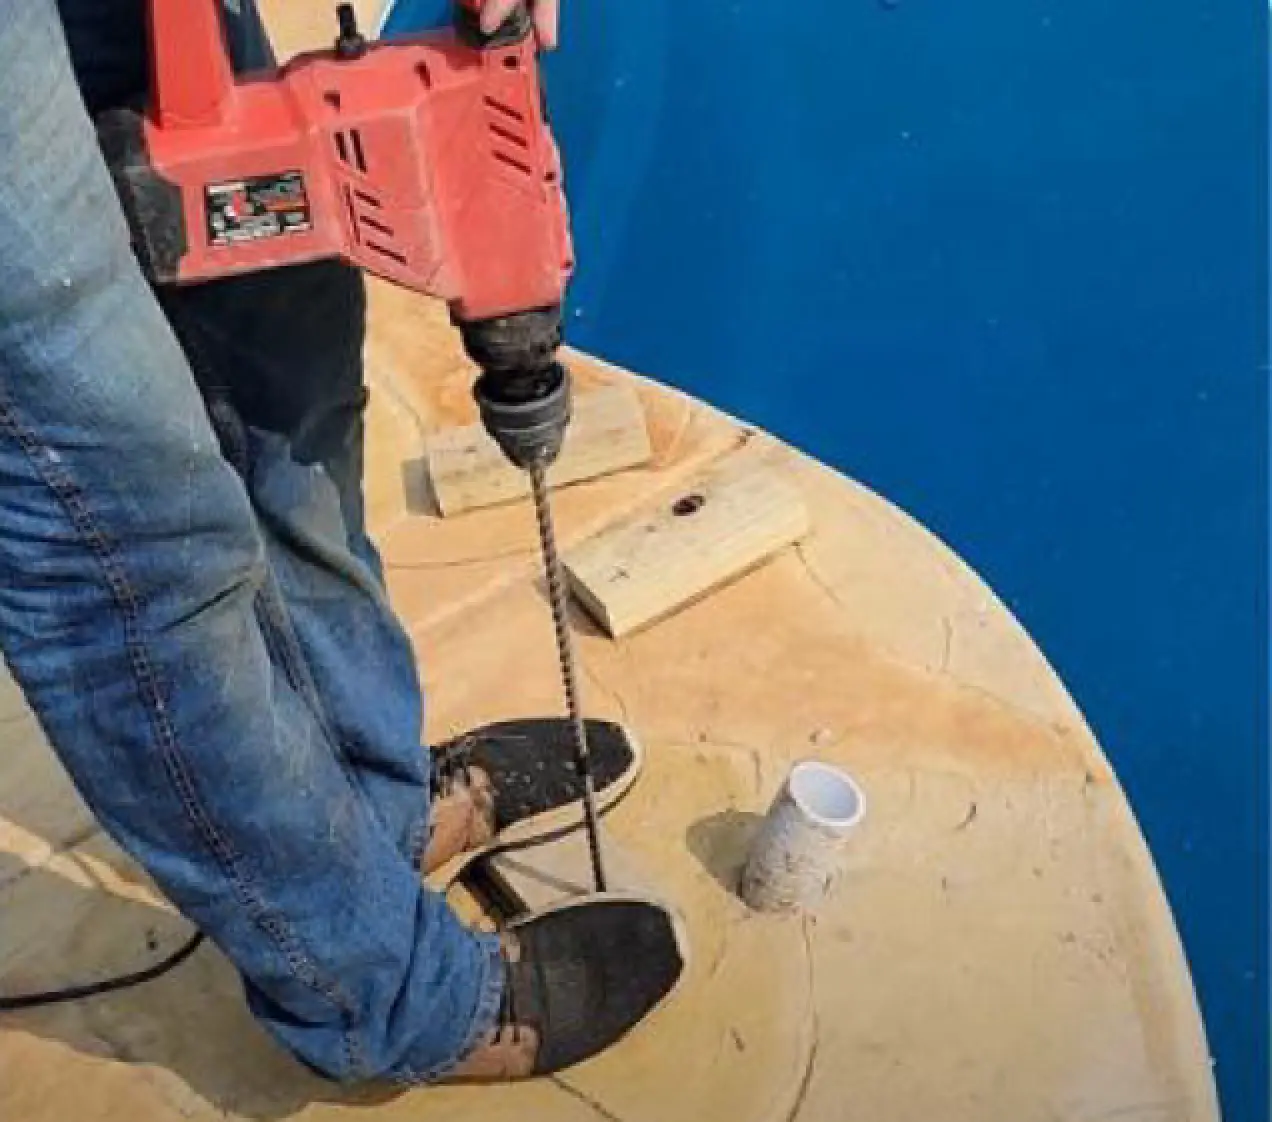
Using a heavy hammer drill, cleanly plunge two anchoring holes straight through each layout wood block down deep into the solid concrete deck substrate.
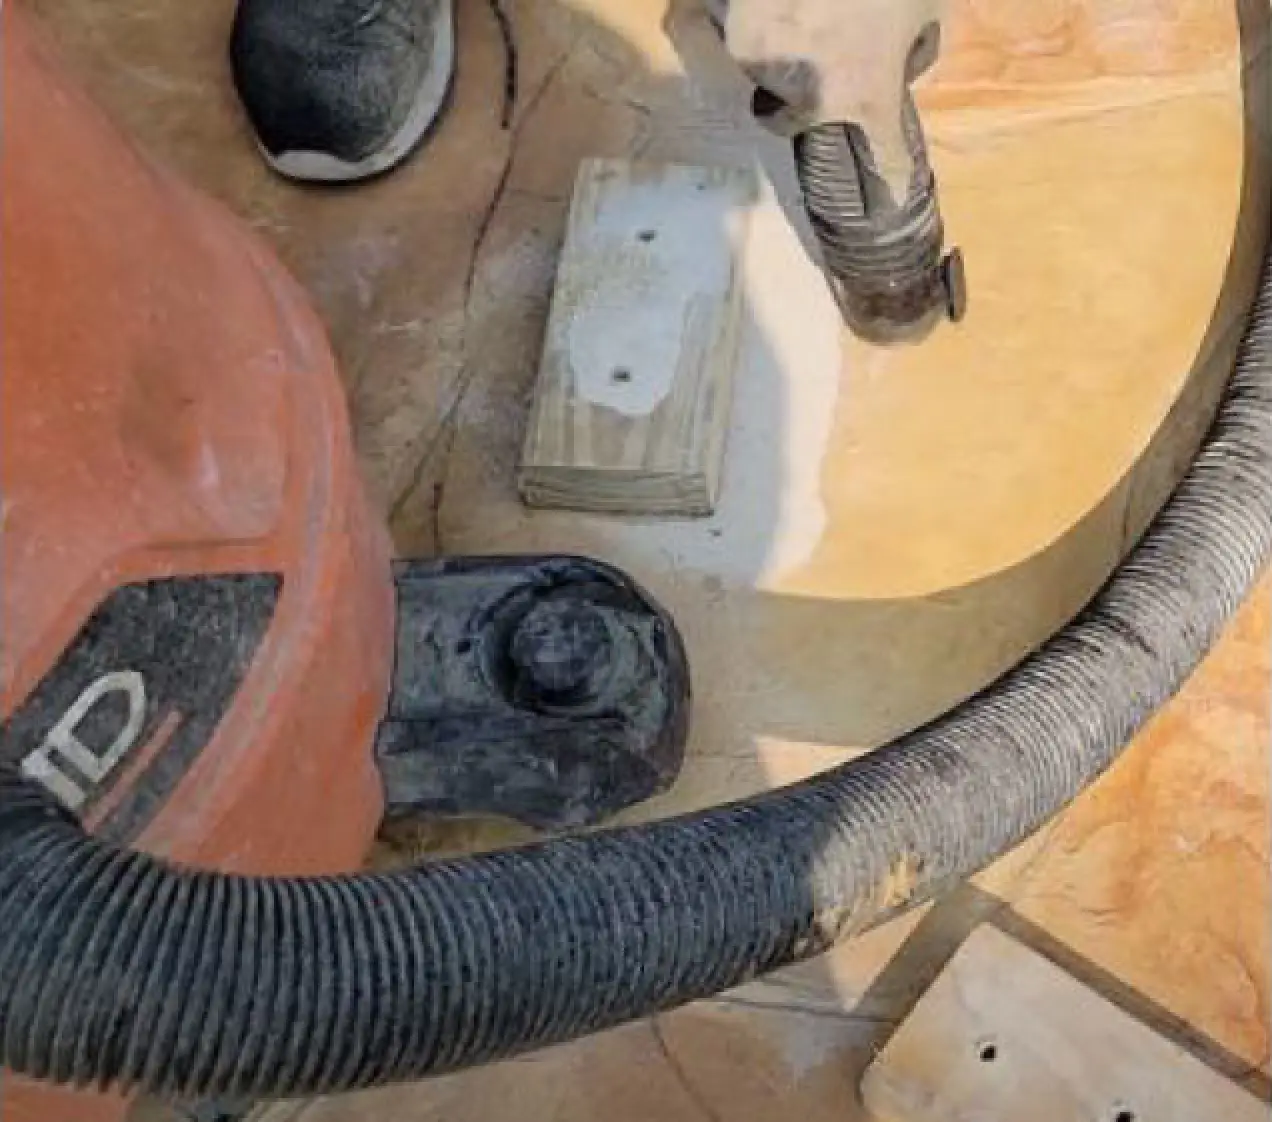
Vacuum up all leftover masonry fine dust, grit, and wood shavings cleanly from the drilled block anchors and sub-surface cavities.
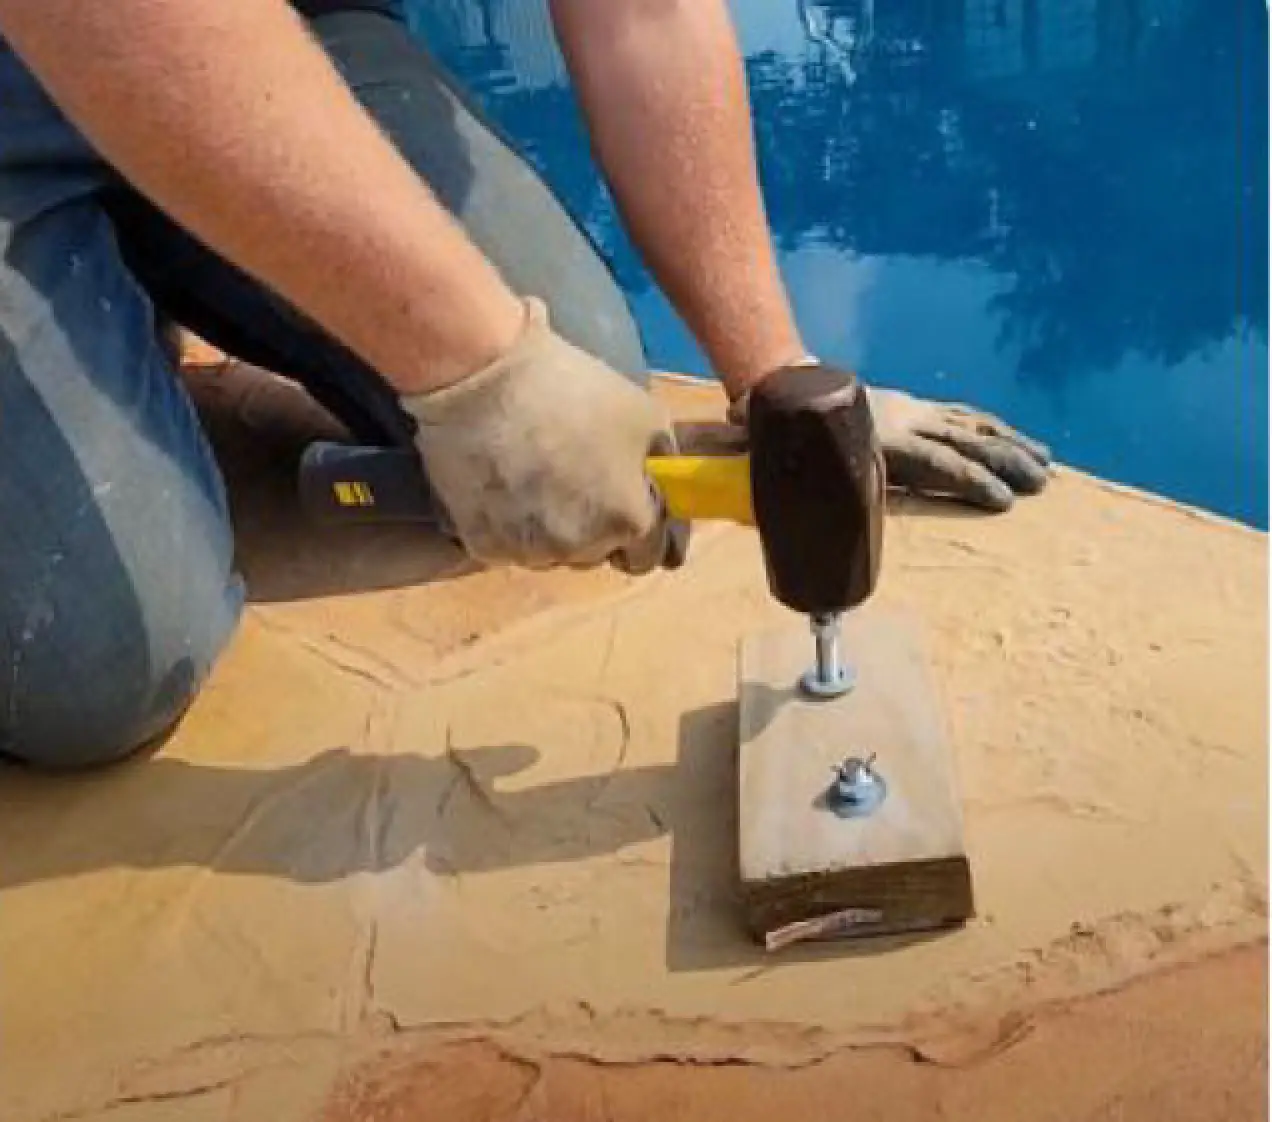
Carefully line up the anchoring holes and hammer heavy-duty wedge masonry bolts down flush into the structural chambers.
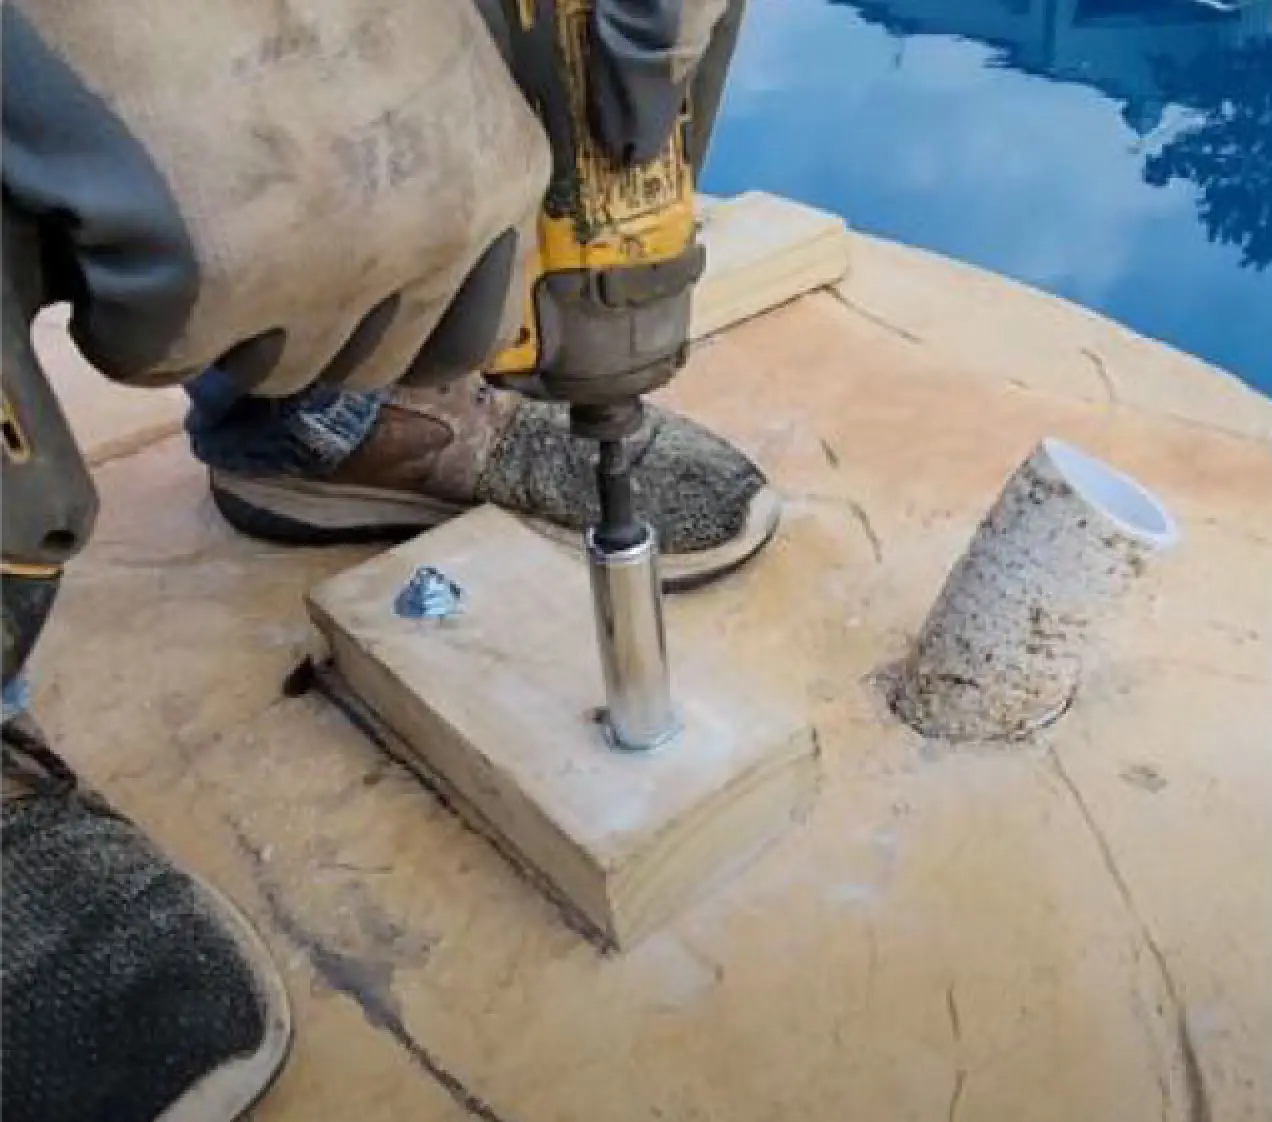
Using a cordless impact drill paired with the appropriate socket size, tighten the retention structural nuts down firmly to secure the blocks.
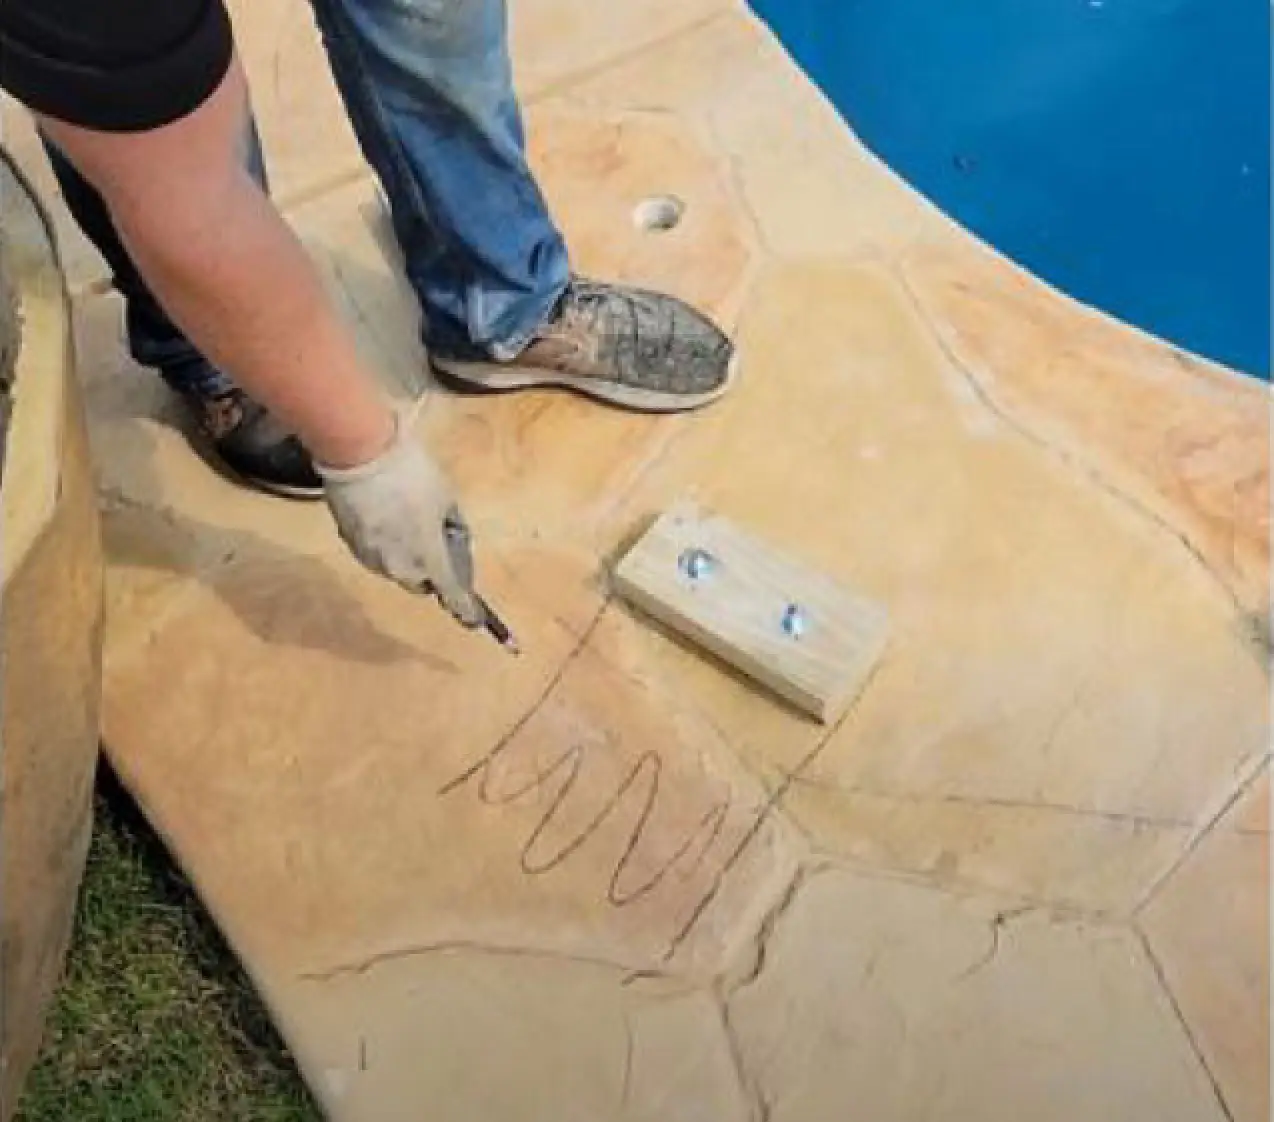
Draw visible reference indexing lines outward on the deck surface from the center points of the wooden blocks so you know where to drive final exterior screws.
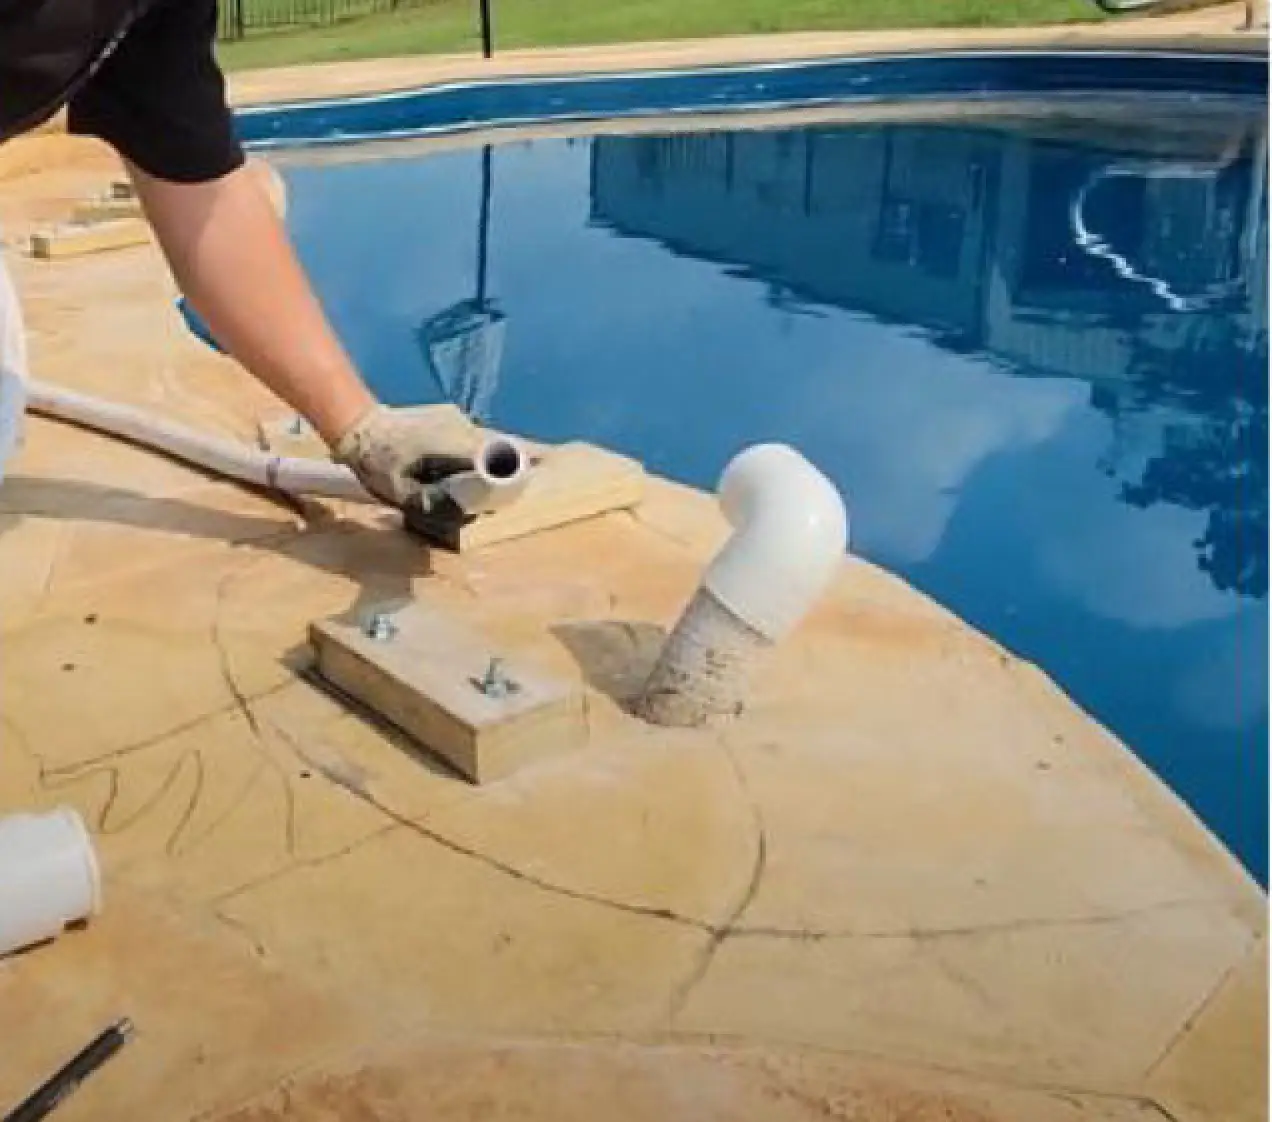
Pre-assemble and dry-fit your structural PVC reduction couplings and flex piping runs to make sure everything connects flawlessly.
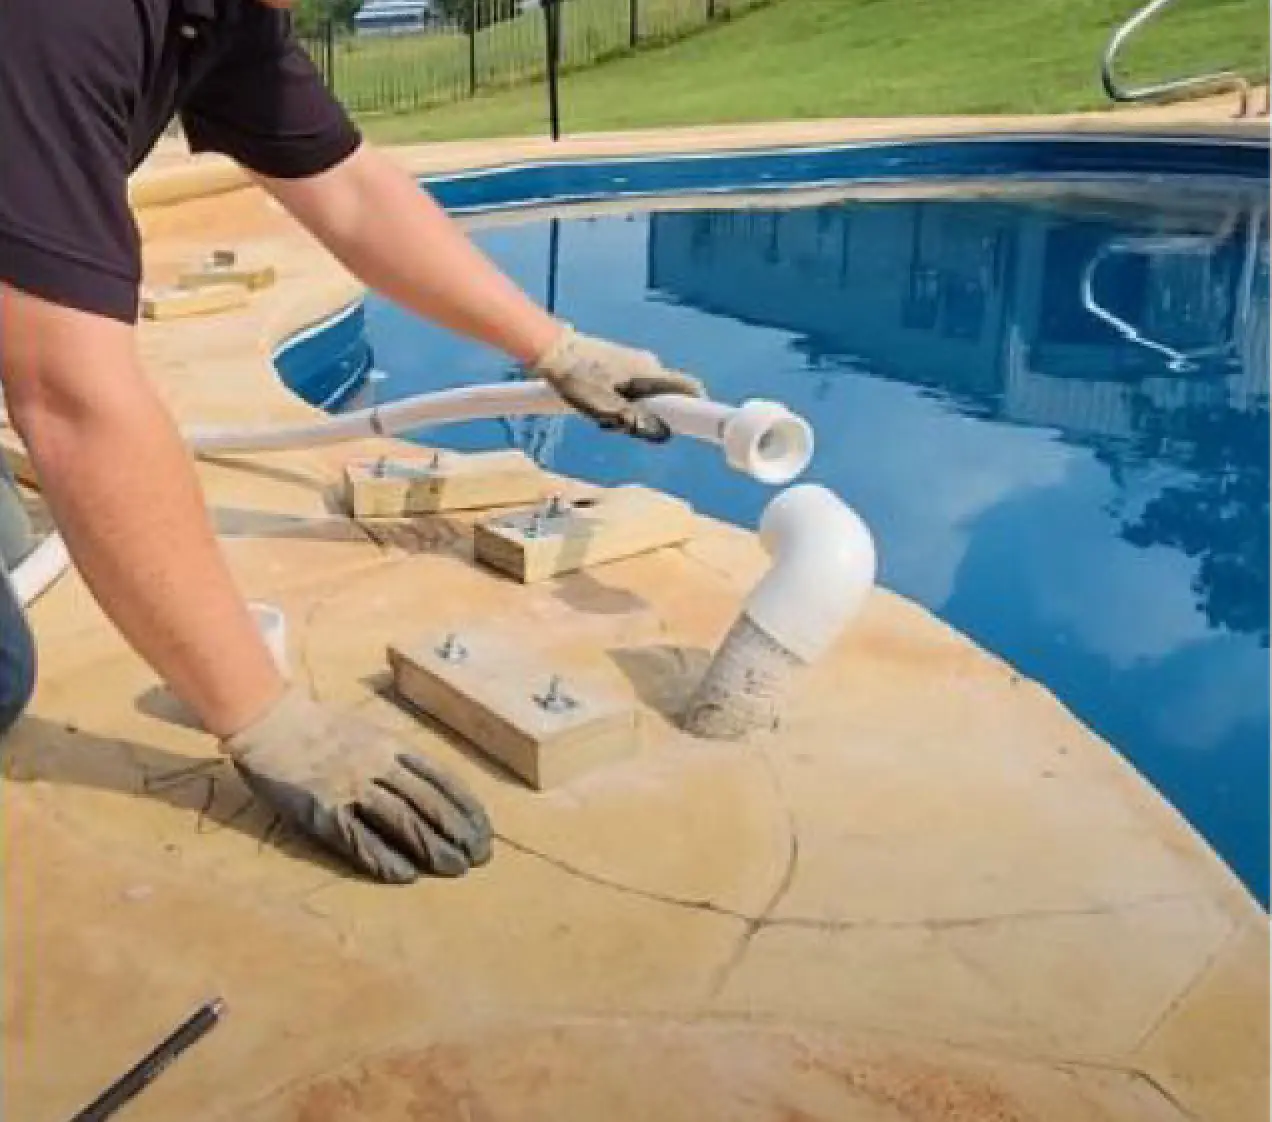
Depending on your flex tubing dimensions, utilize the appropriate sizing reducer sleeve to lock firmly into the main injection plumbing socket.
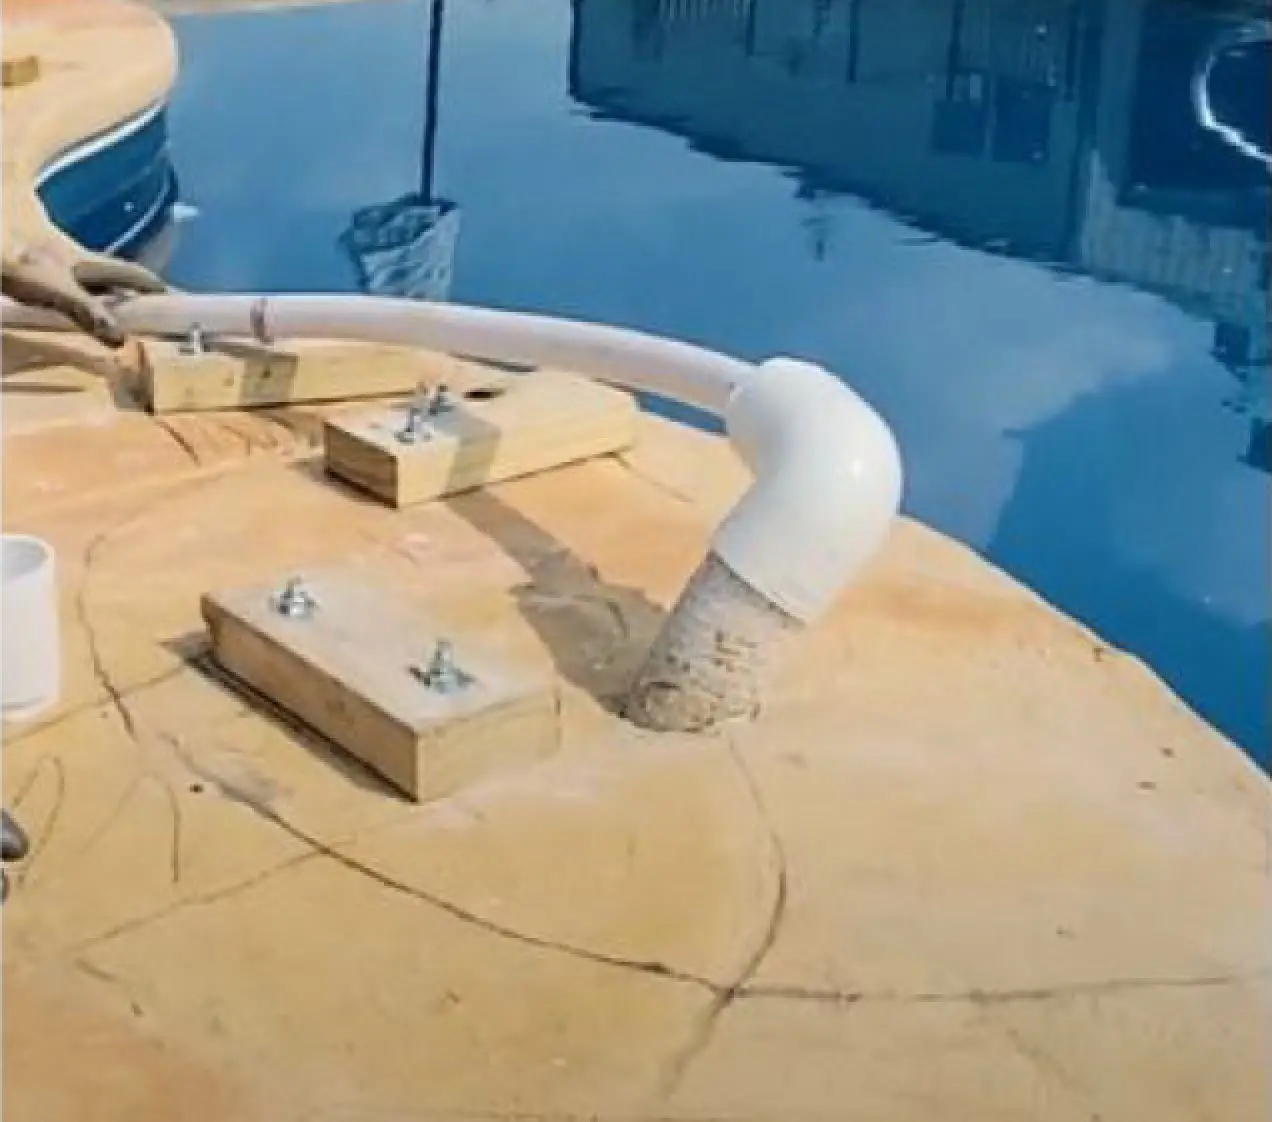
This reference image shows an exemplary mock assembly layout of a 1" flexible hose reduction line locked cleanly into a 2" PVC reducer joint.
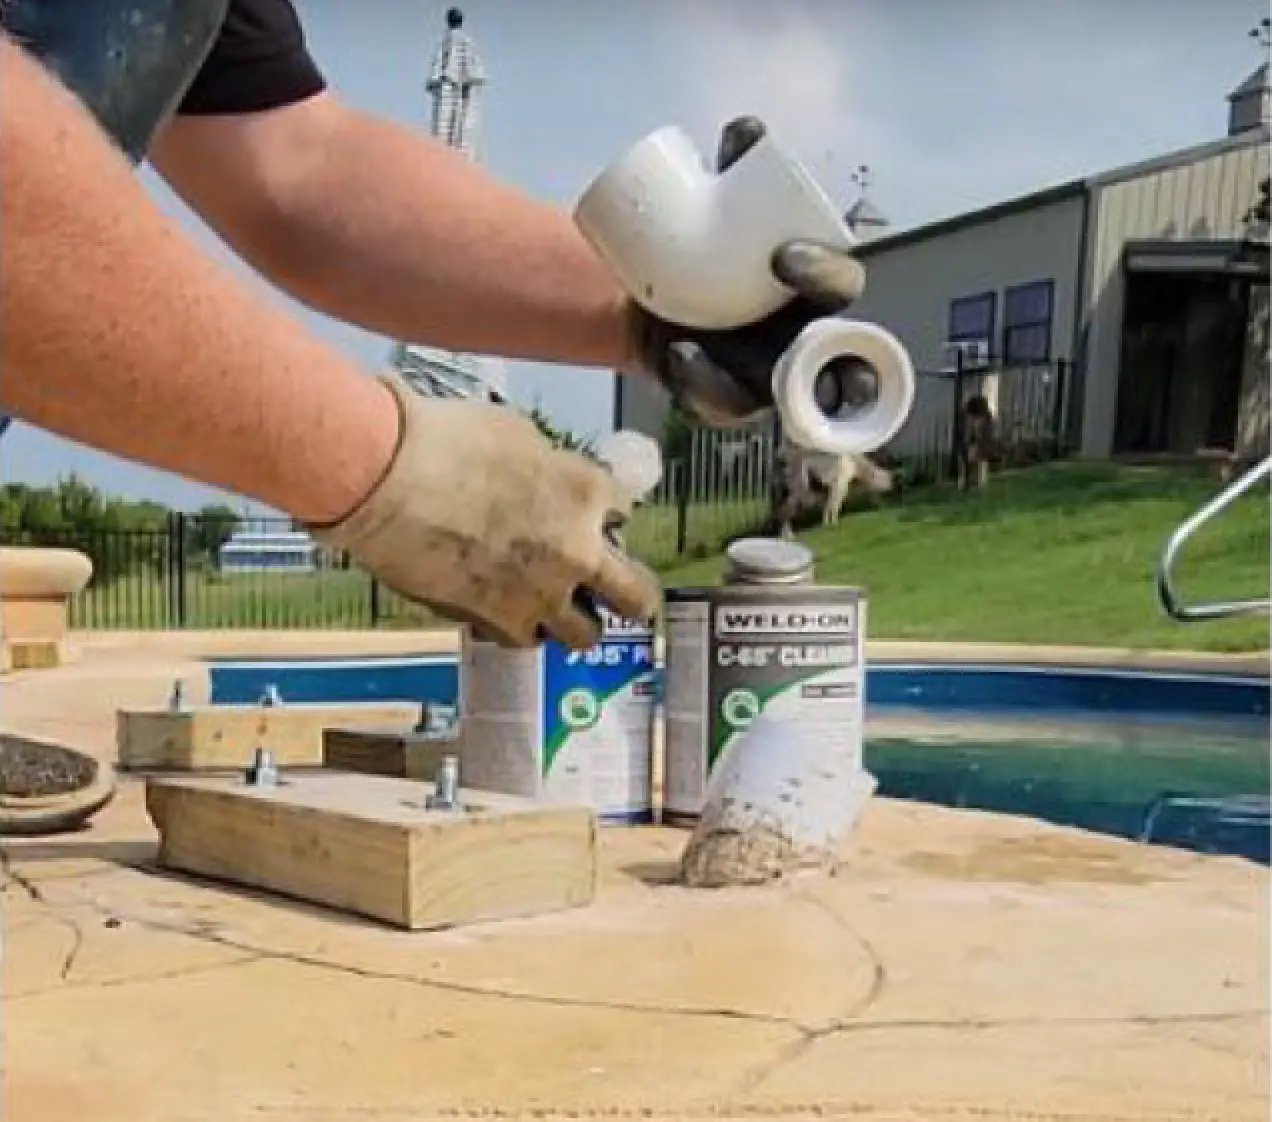
Apply purple cleaner primer and high-strength PVC cement solvent glue to both the reducer housing sleeve and elbow plumbing cavity.
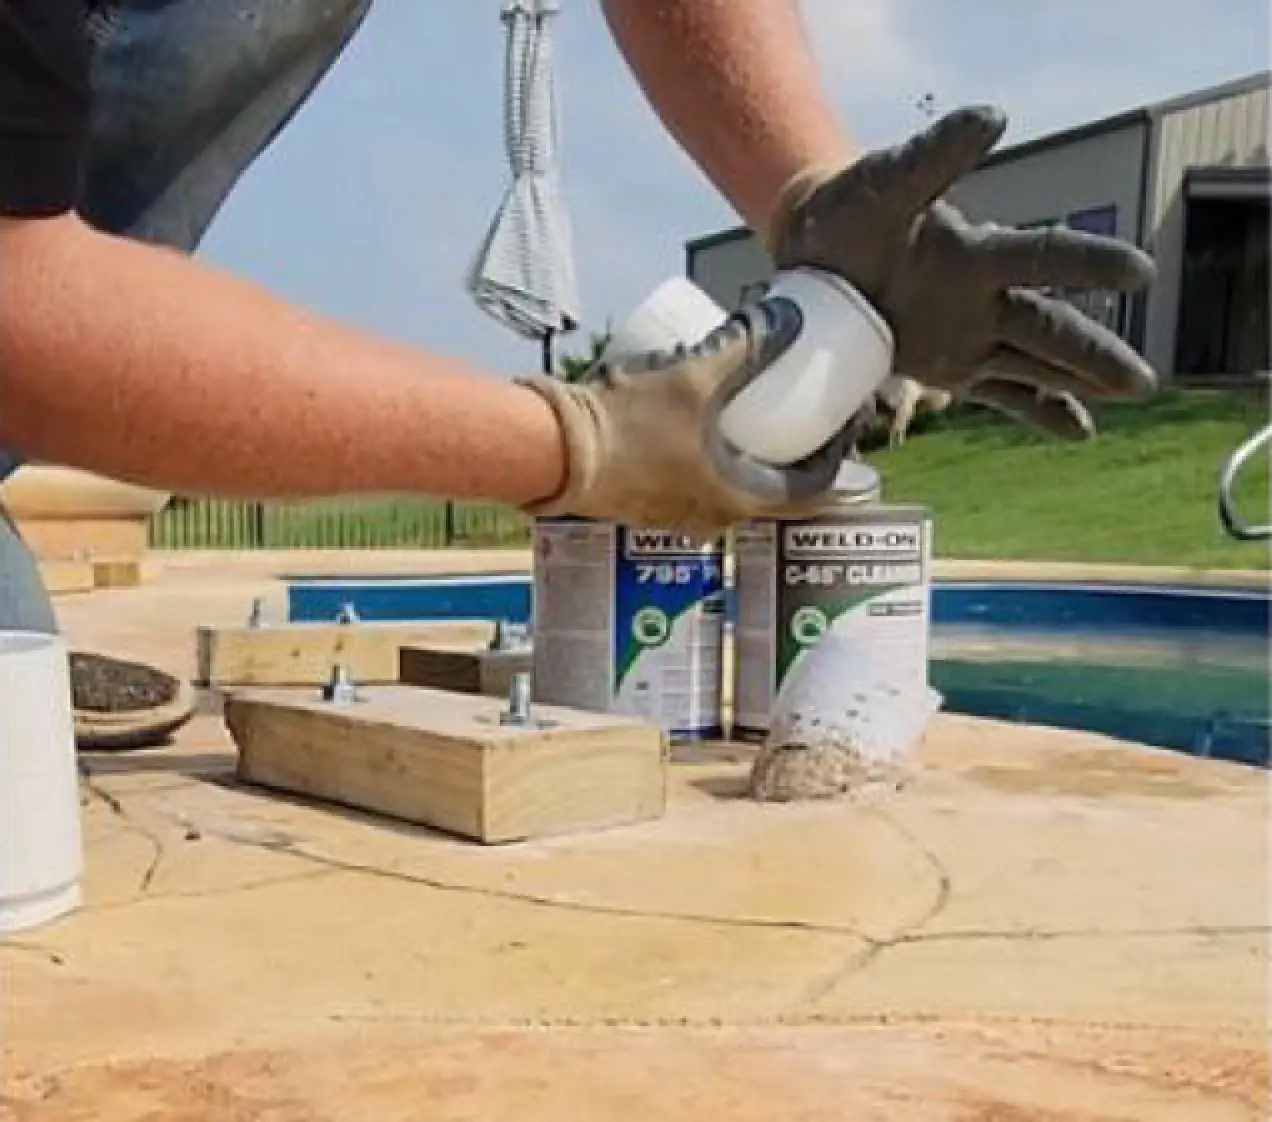
Press the components firmly together and maintain continuous solid holding pressure for at least 10 seconds while the chemical weld sets up.
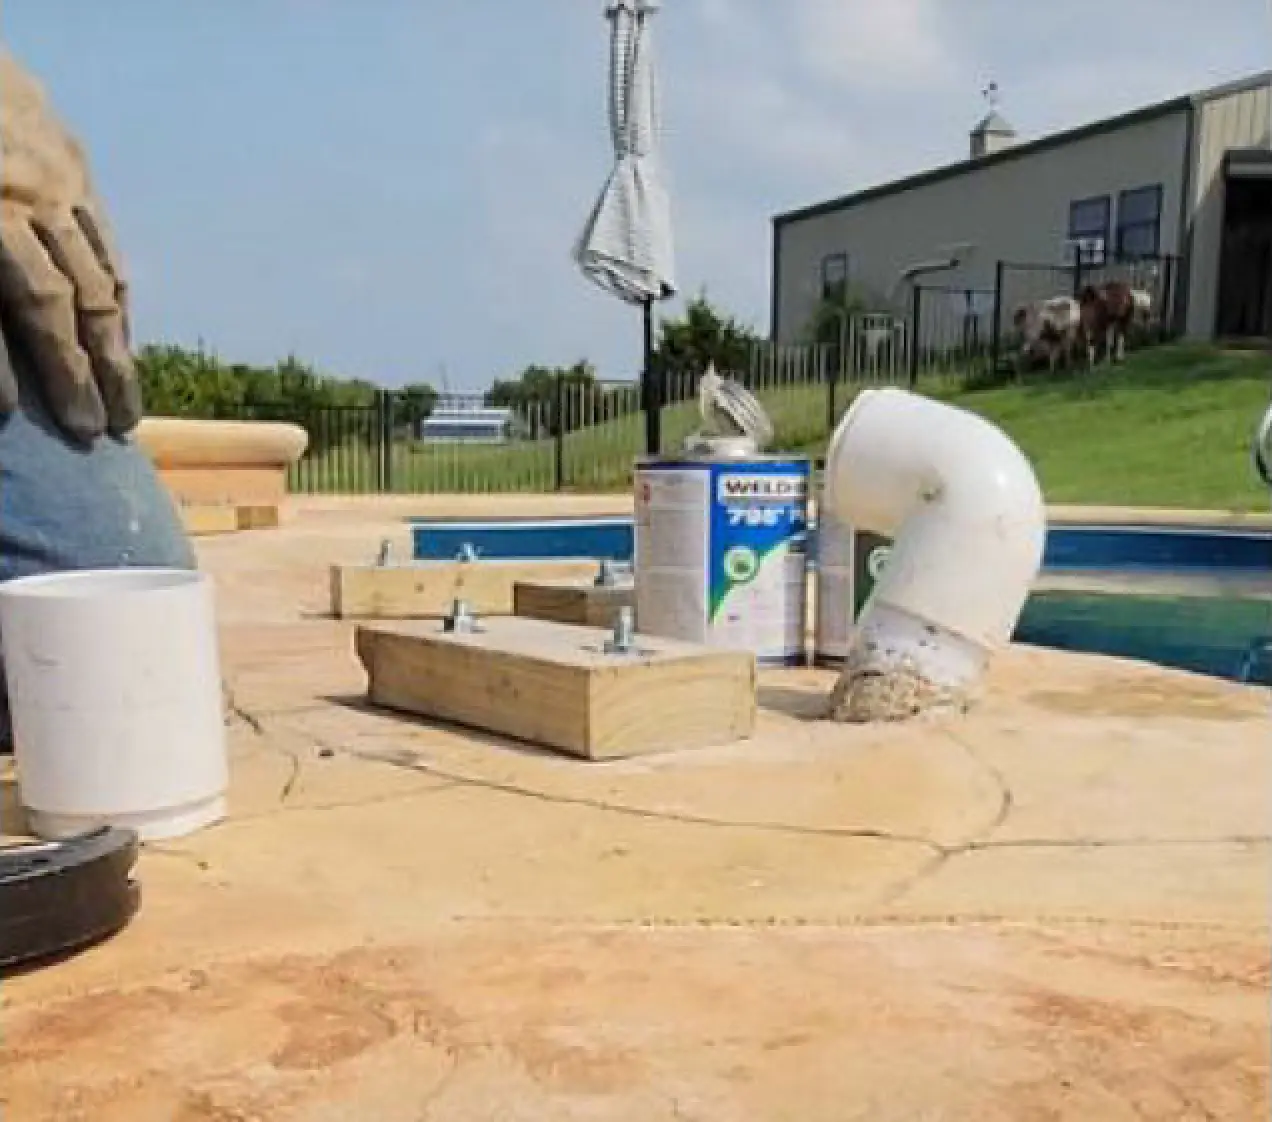
Slide the glued elbow assembly down onto the pool deck return stub. Twist 1/4 turn upon seating to pop any internal air bubbles completely.
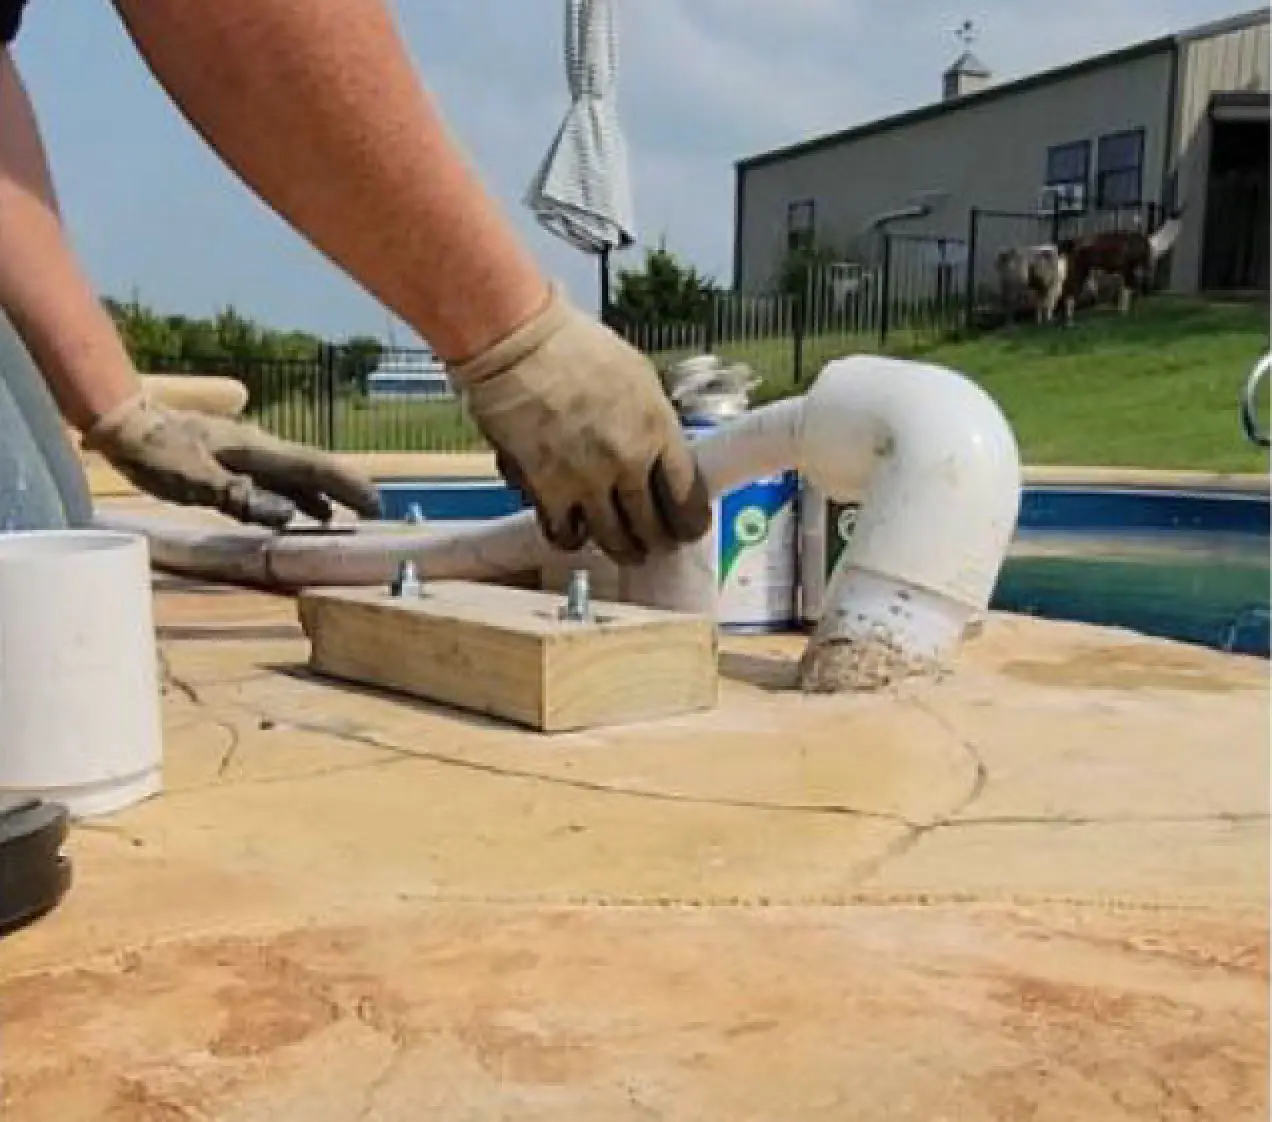
Glue your flexible spa-flex PVC pipe directly into the reducer inner ring chamber that was just installed over the deck supply stub.
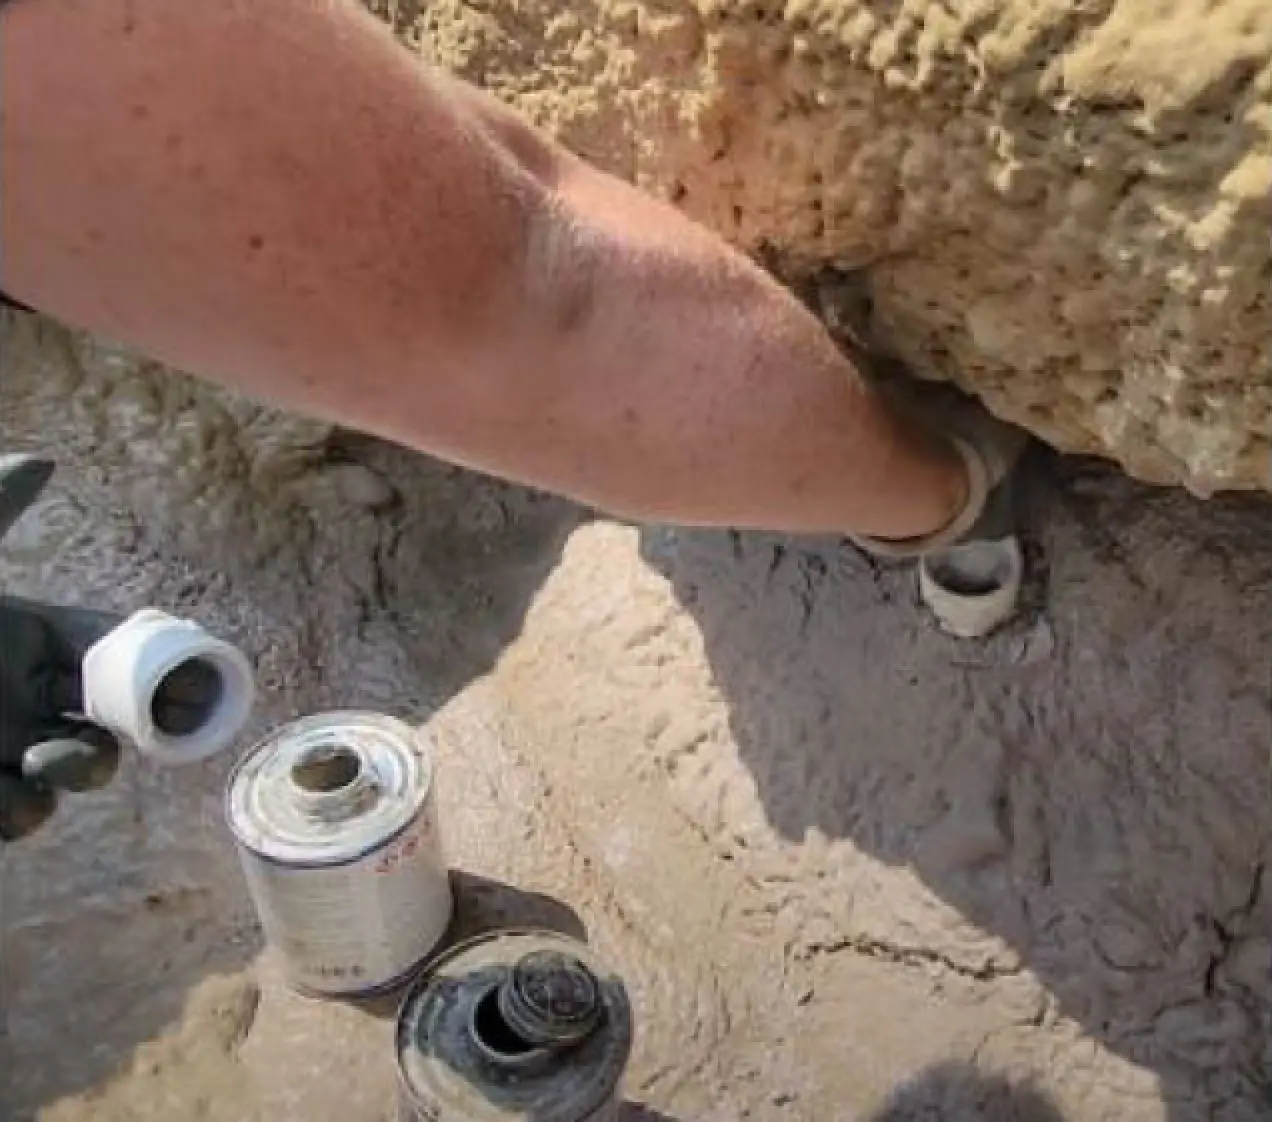
Thoroughly apply glue solvent directly into the integrated female input plumbing socket cast under the main waterfall unit cavity.
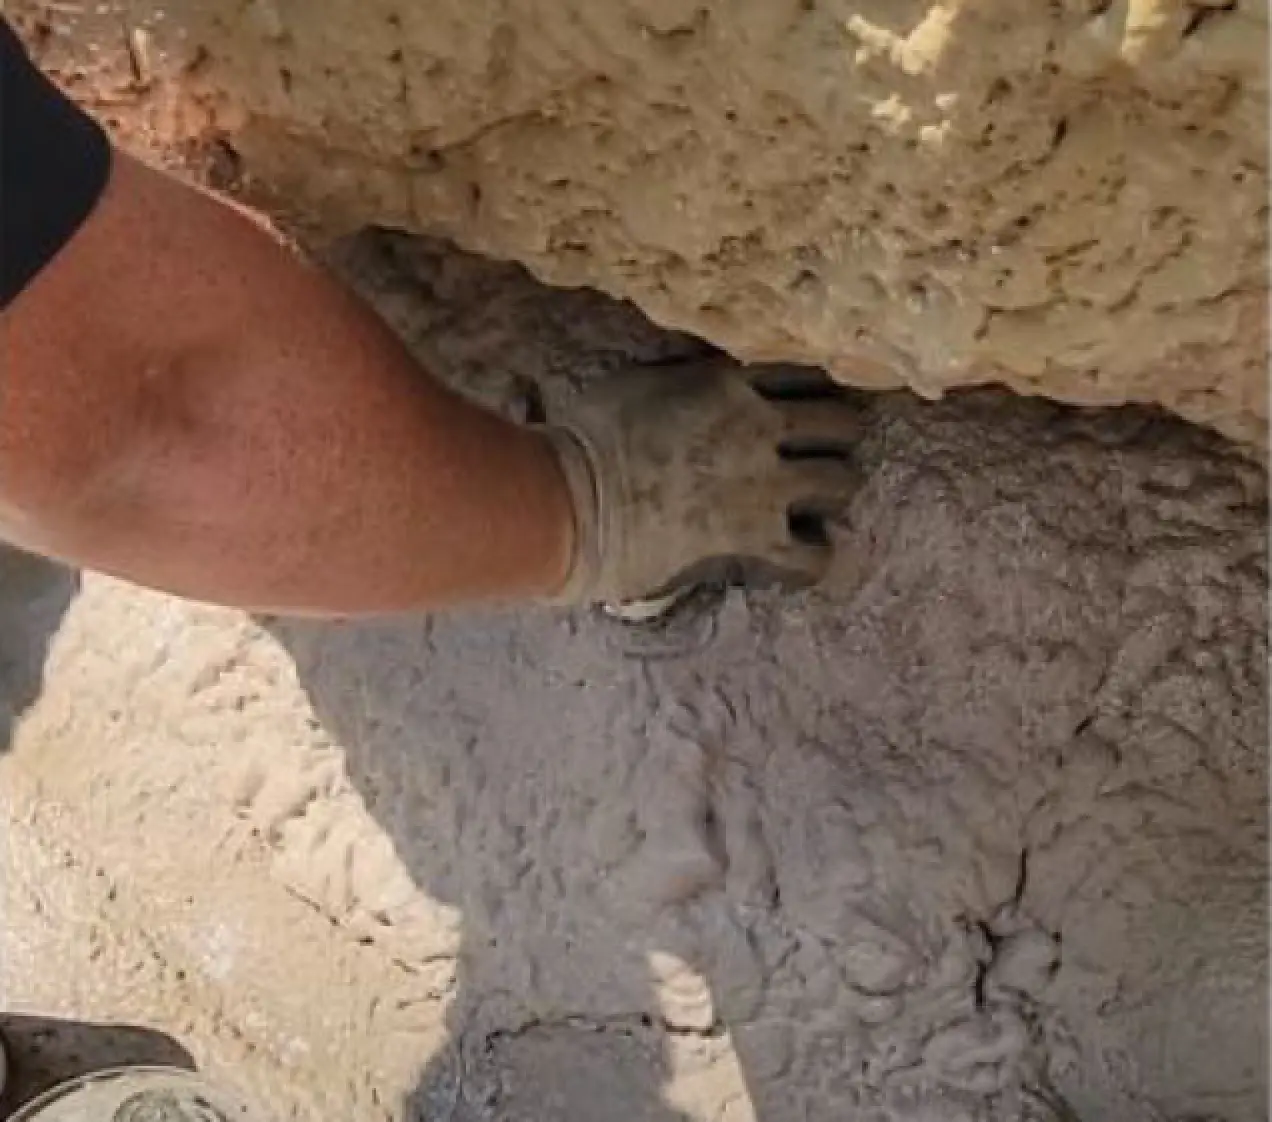
Seat the opposite pipe coupling extension deep into the internal structure input hole and apply continuous pressure for 10+ seconds.
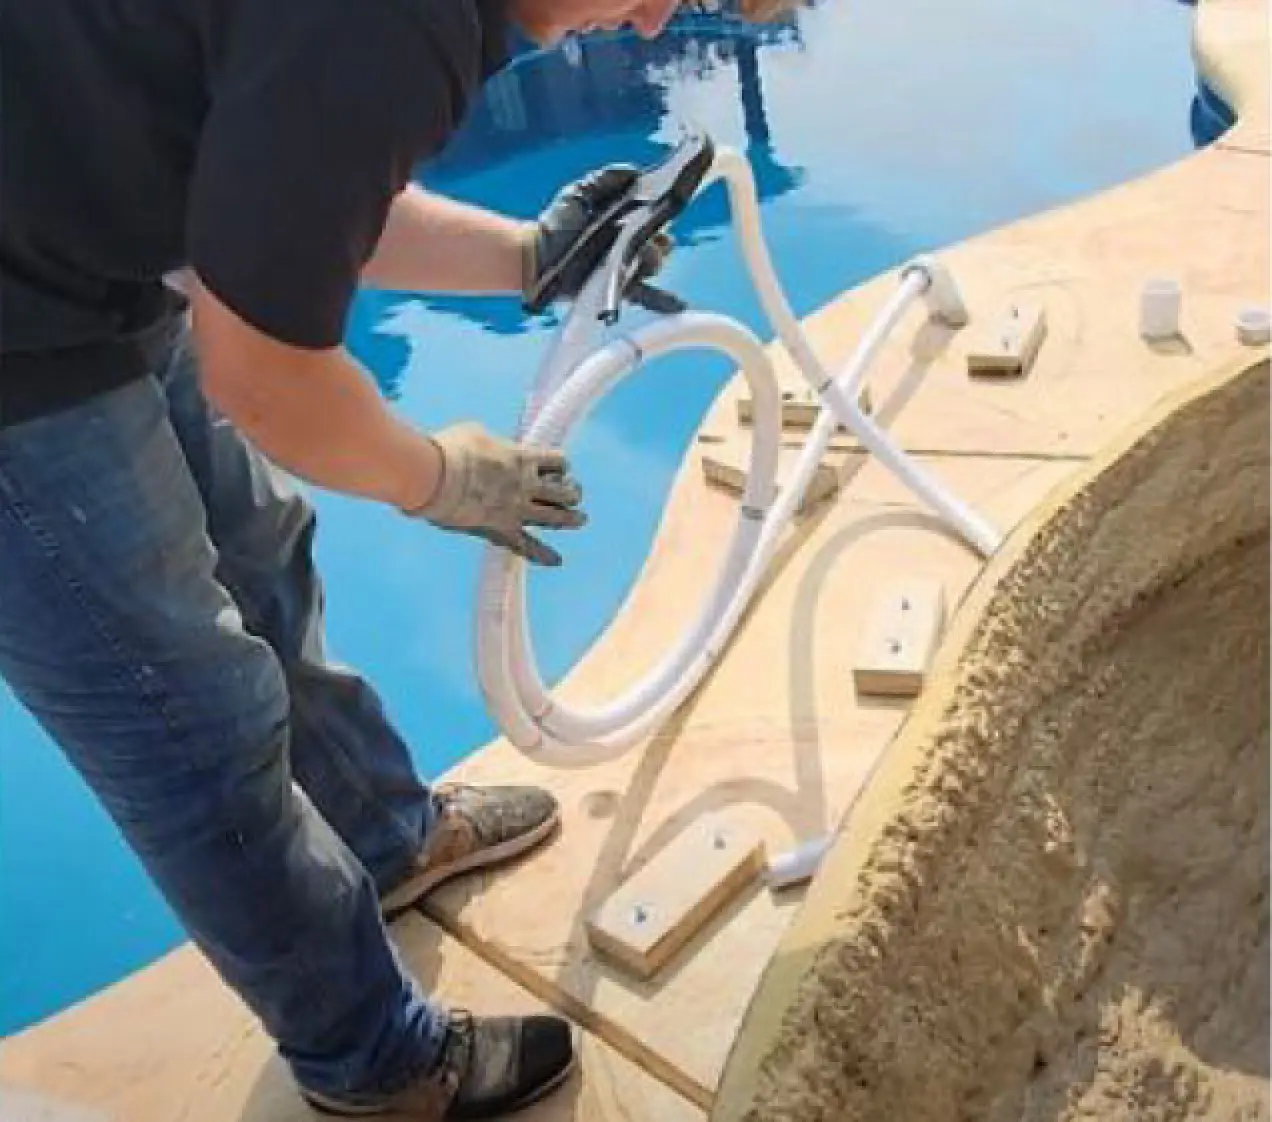
Determine your custom spa-flex pipe stretch requirement length. Ensure you leave enough length to loop smoothly as shown above.
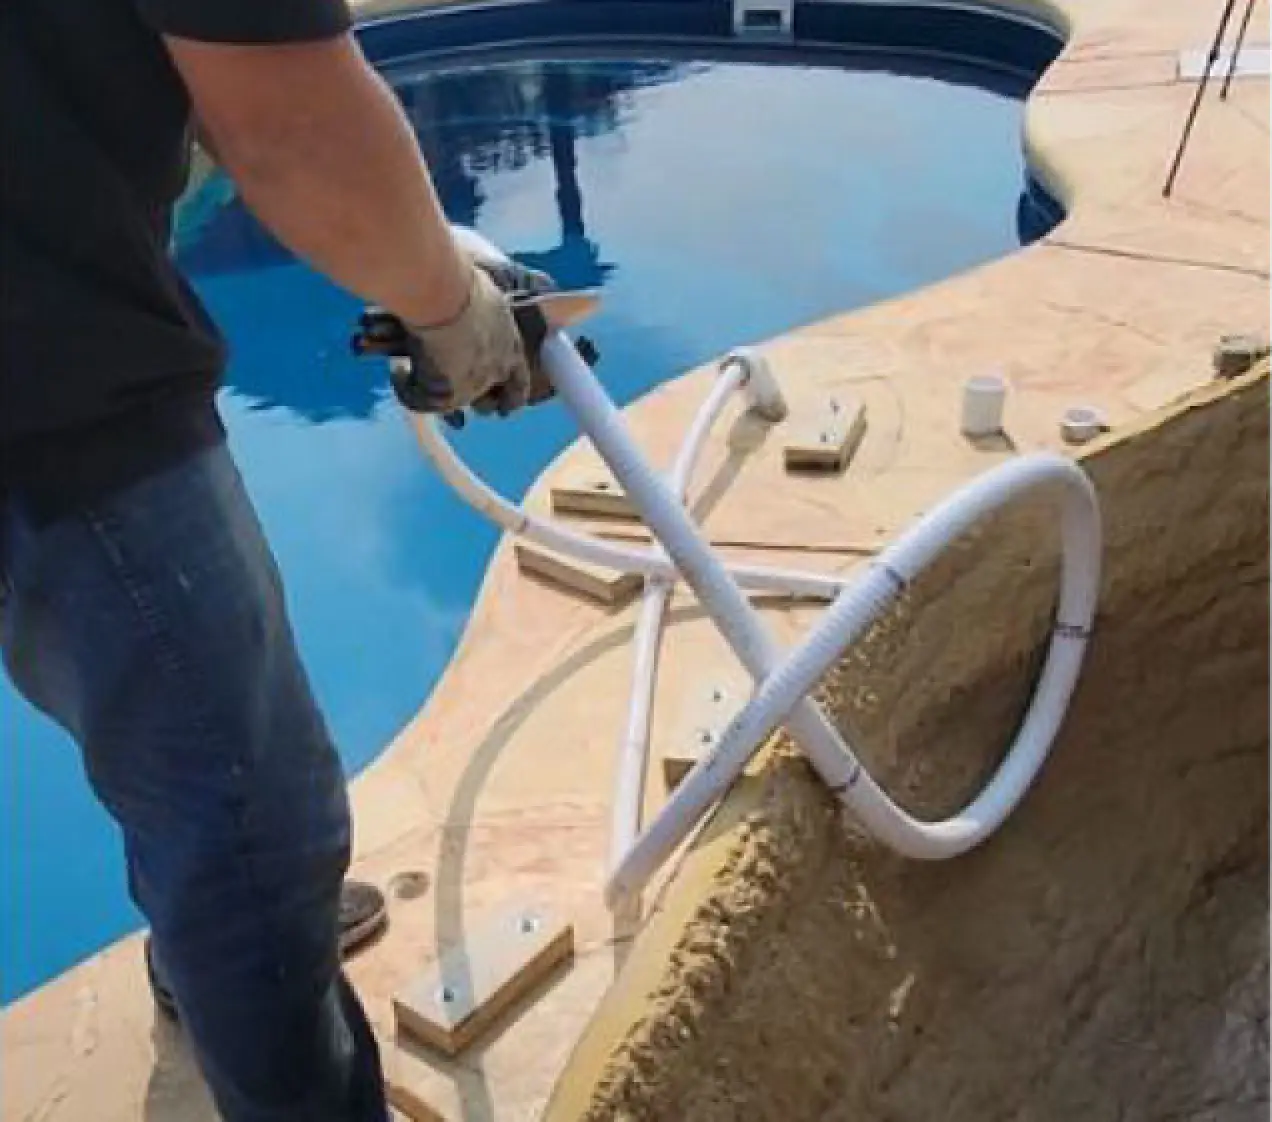
Trim off any excess flexible spa tubing extensions using a sharp PVC hand-saw tool or clean multi-cutter blade setup.
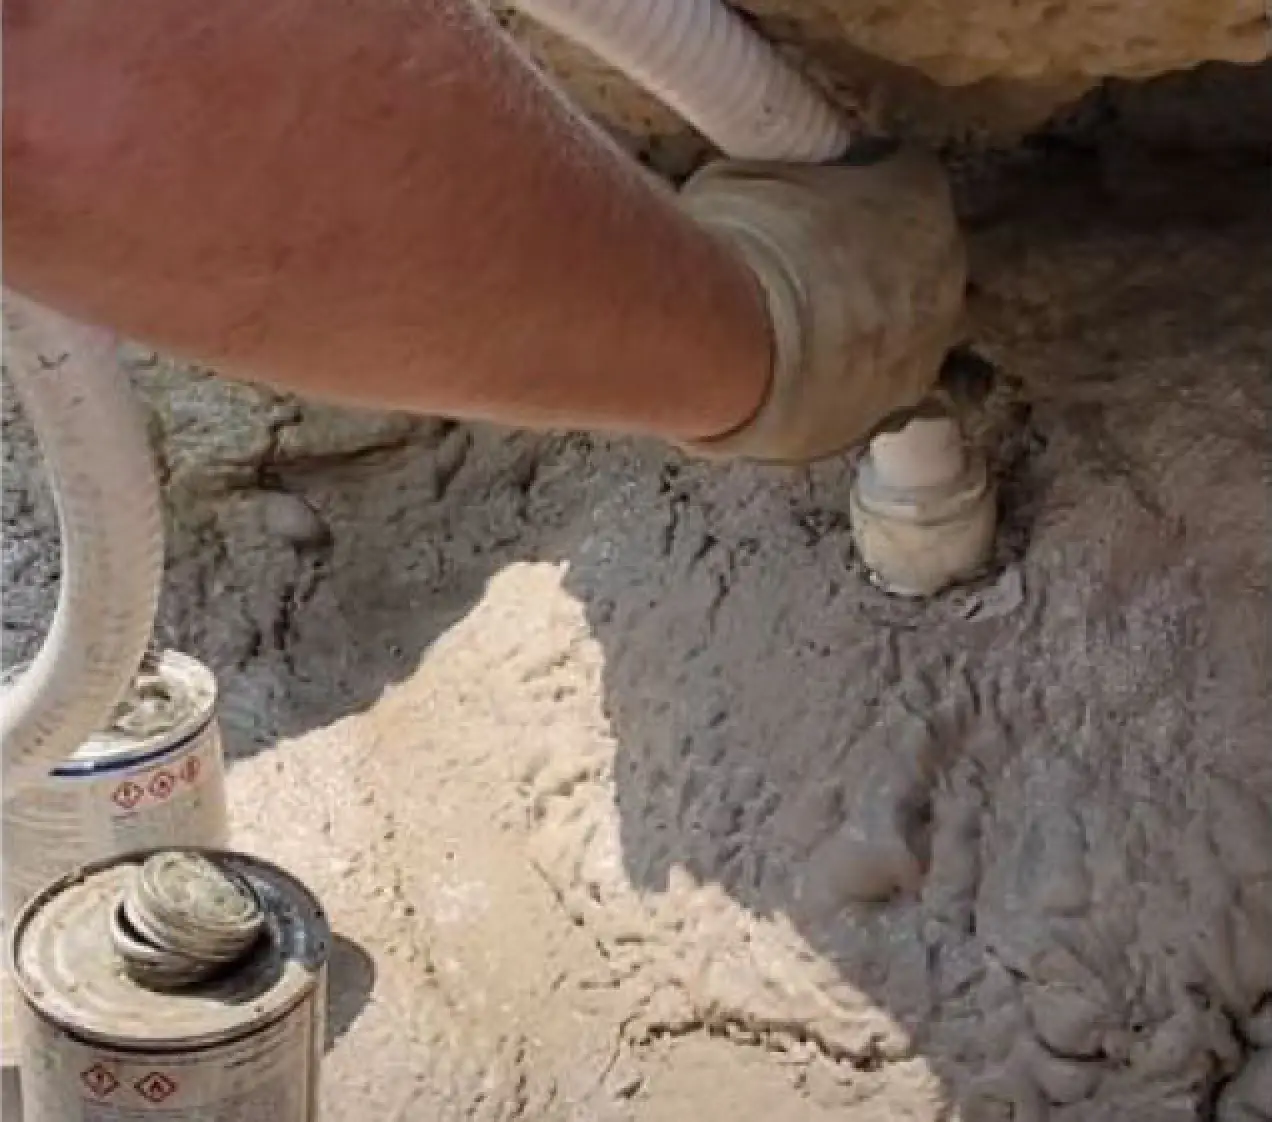
Glue the flexible structural plumbing hose extension permanently directly into the target receipt reducer fitting layout.
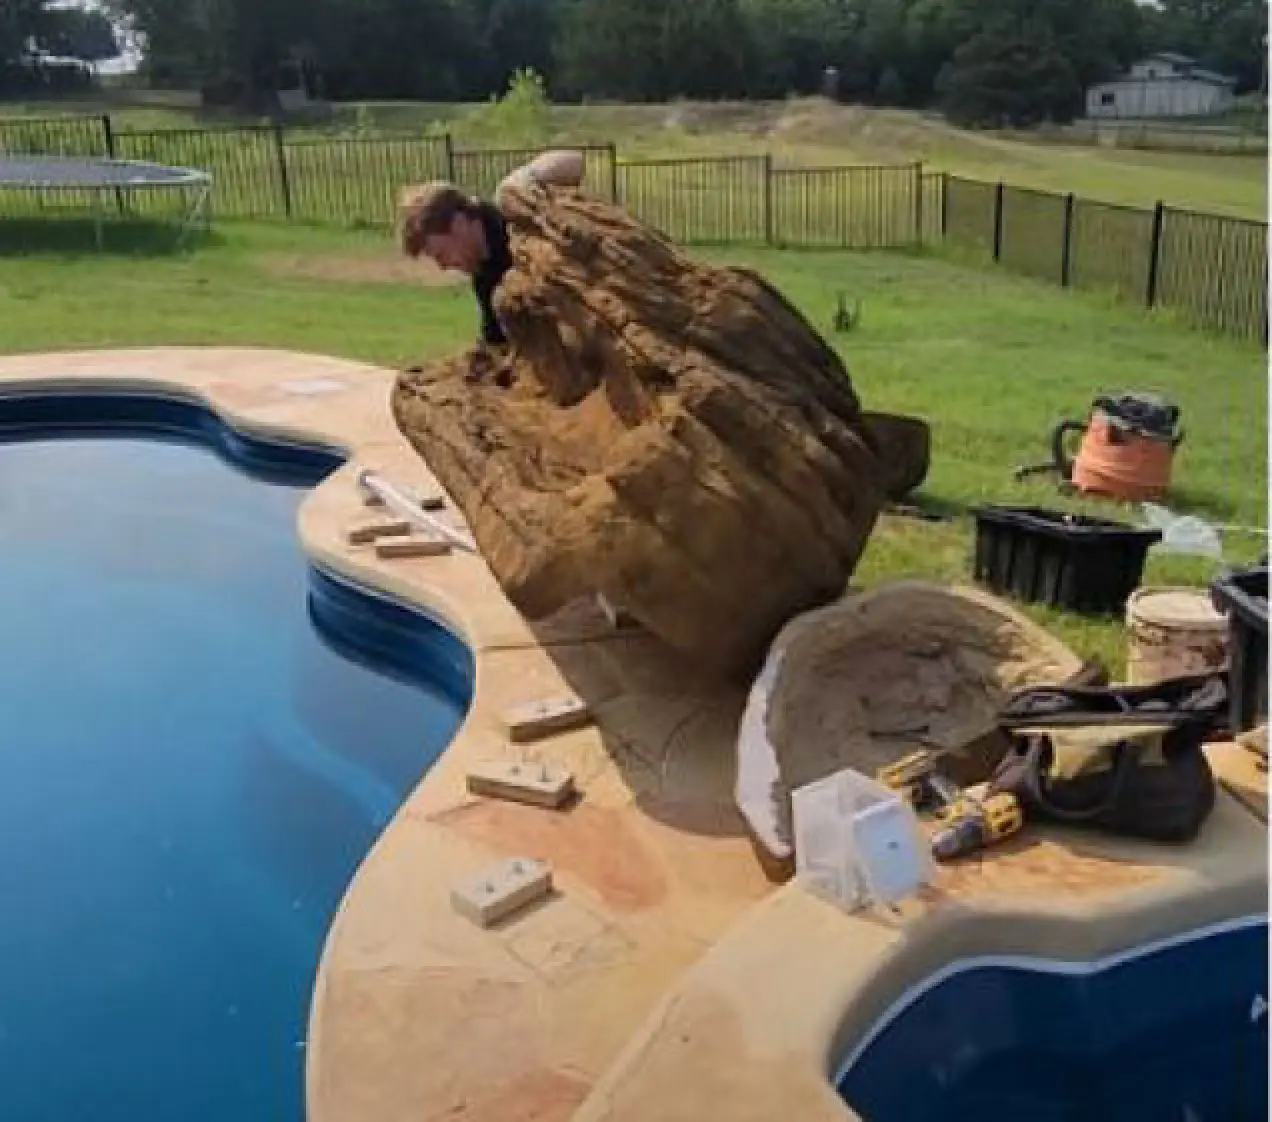
Tuck all active flex pipe lines safely inside the waterfall cavity cavity body shell, flip over, and set down squarely over the anchored deck blocks.
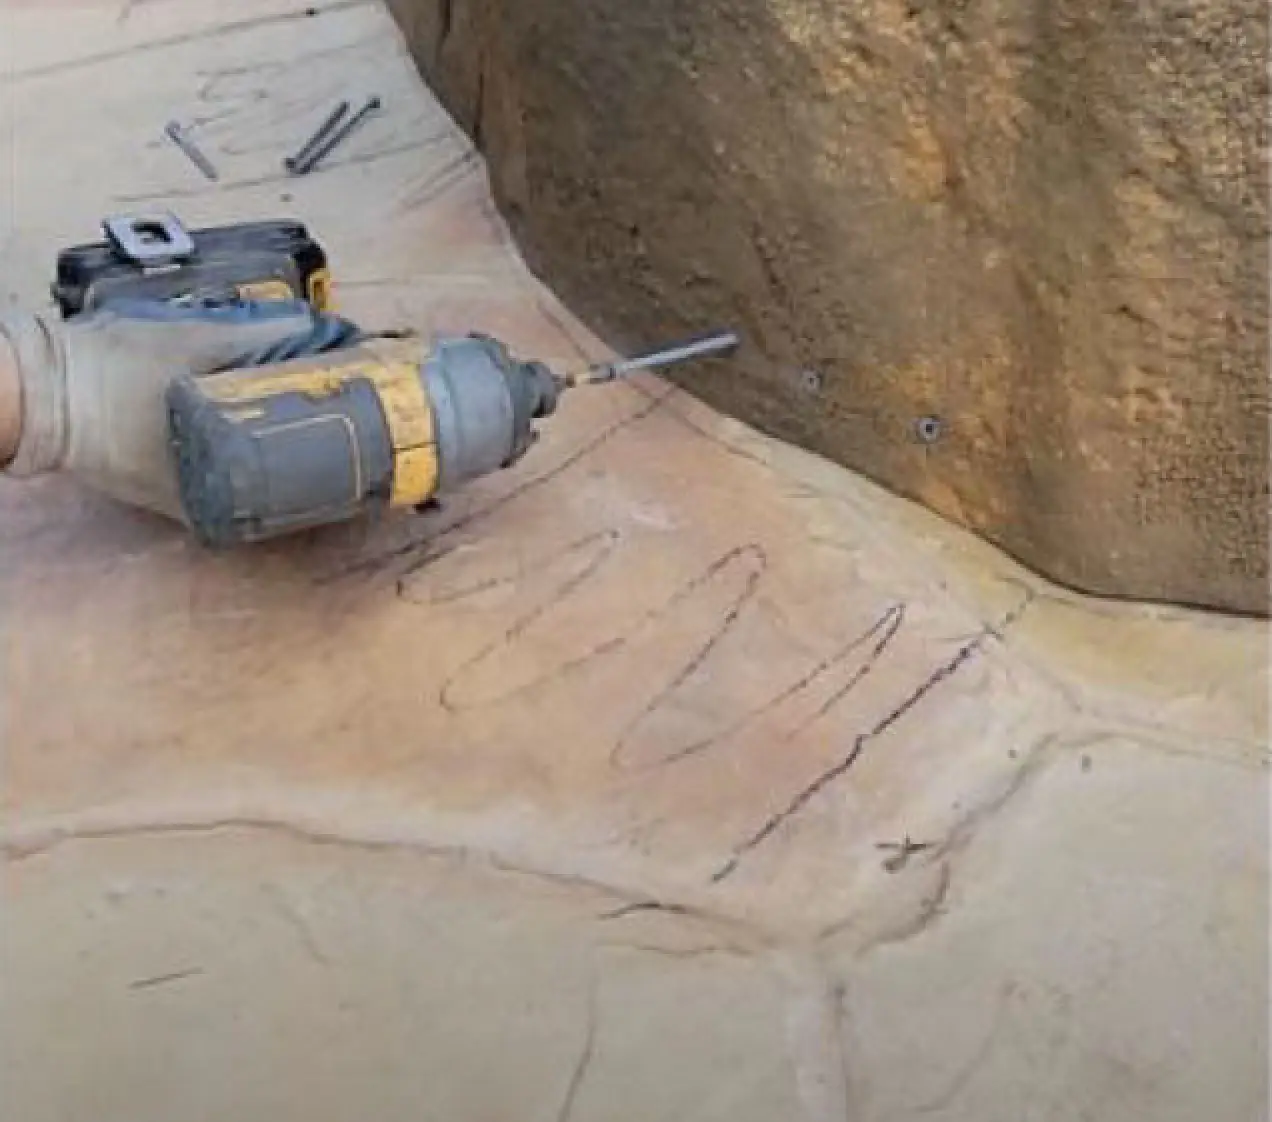
Drive 3" exterior deck fasteners straight through the outer shell skins into the interior anchored blocks using your drawn pencil index lines.
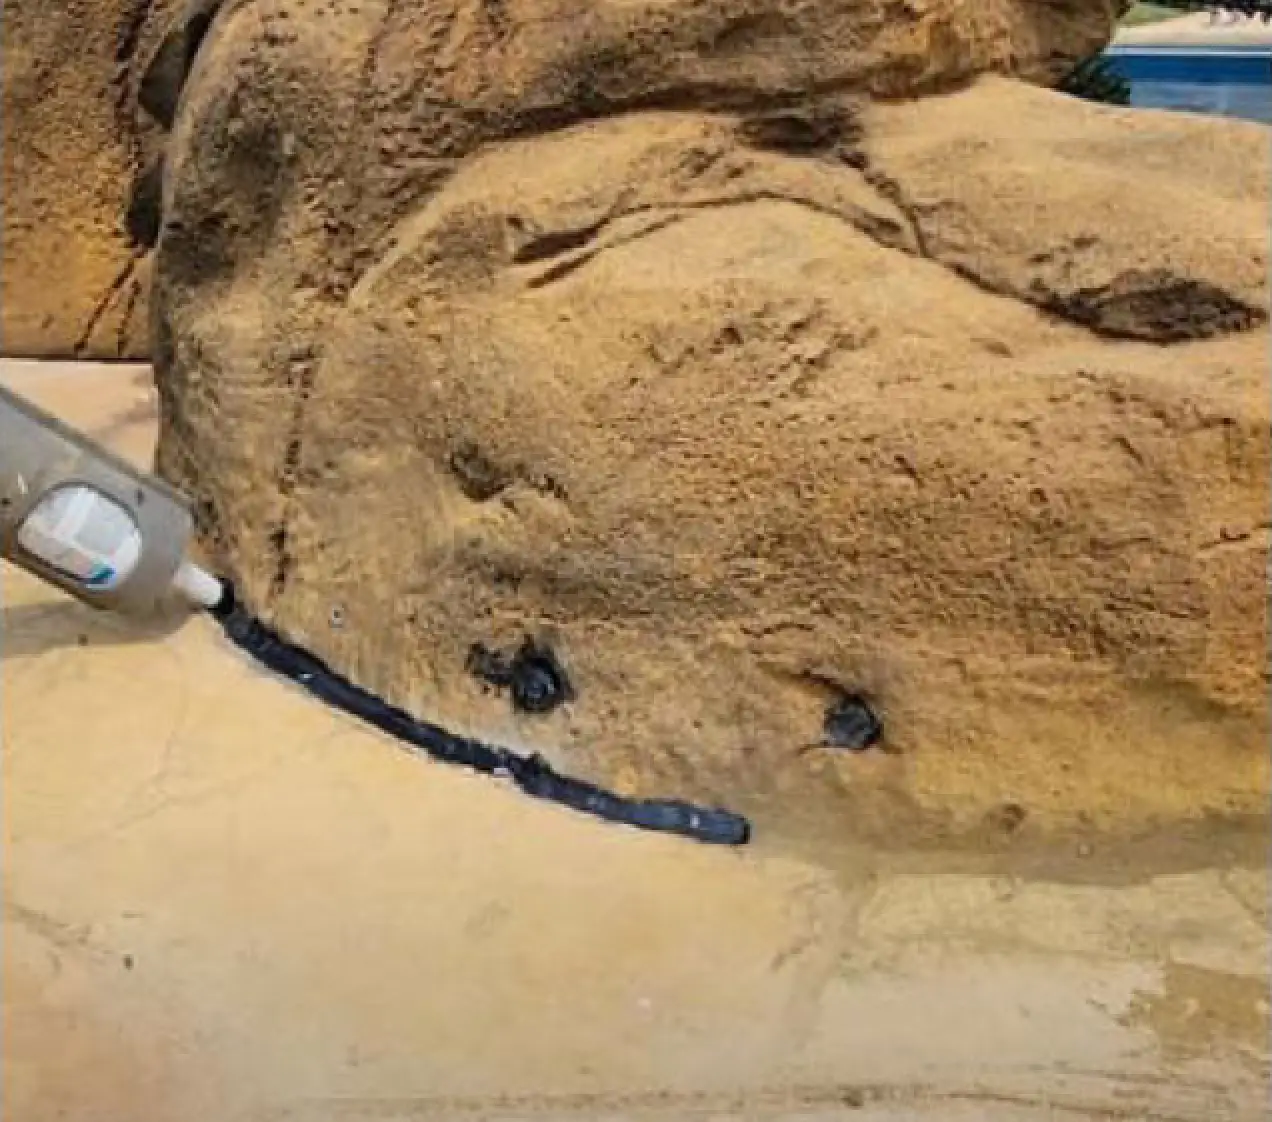
Apply commercial-grade silicone sealant or heavy M-1 structural adhesive around all perimeter touch margins and exposed exterior screw heads.
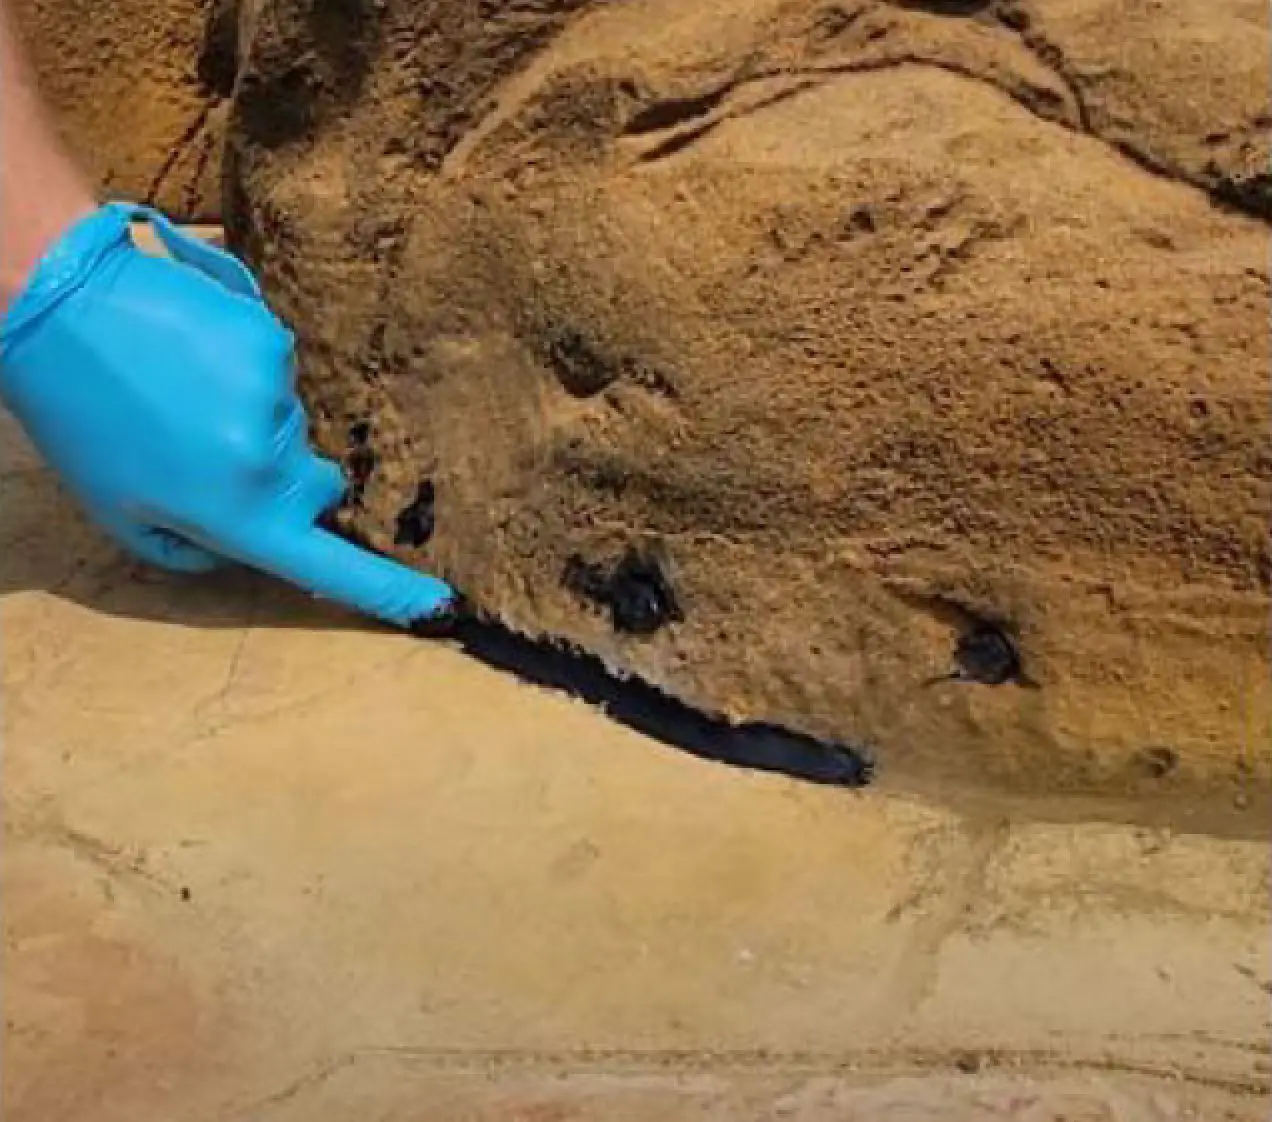
Put on a protective installation glove and rub the applied sealant lines smoothly and evenly to build a clean weatherized seal configuration.
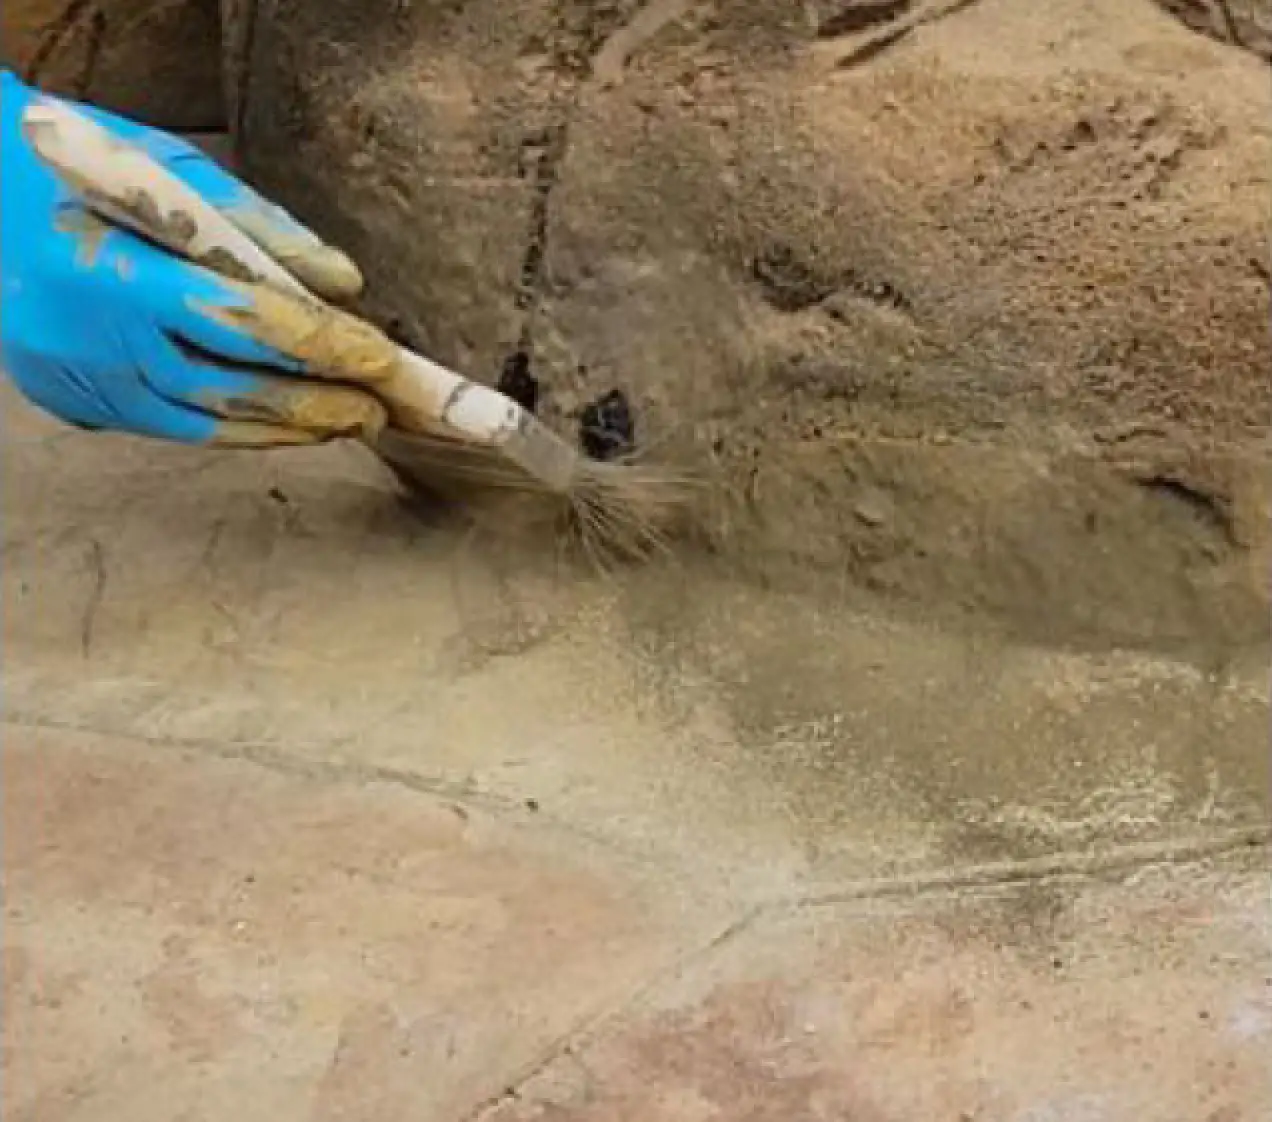
Dip a stiff brush into the sand pigment from your Touch-Up Kit and dab directly onto wet silicone dots to camouflage fastener holes completely.
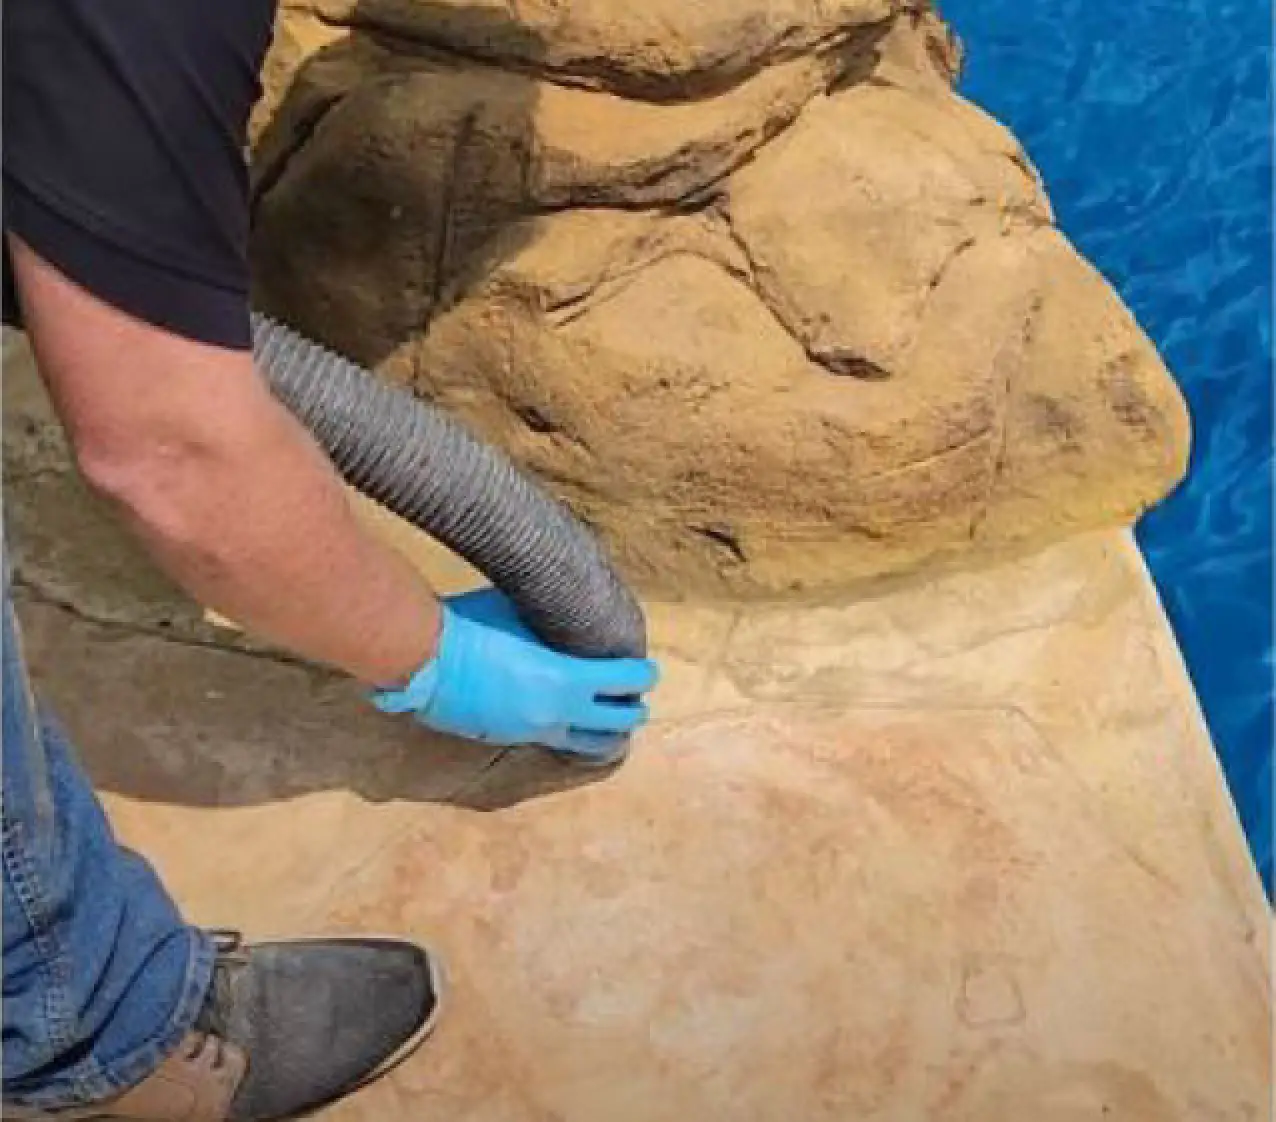
Vacuum up any leftover texture loose rock fragments, overspray color dust sand, and deck particles from the completed stone sections.
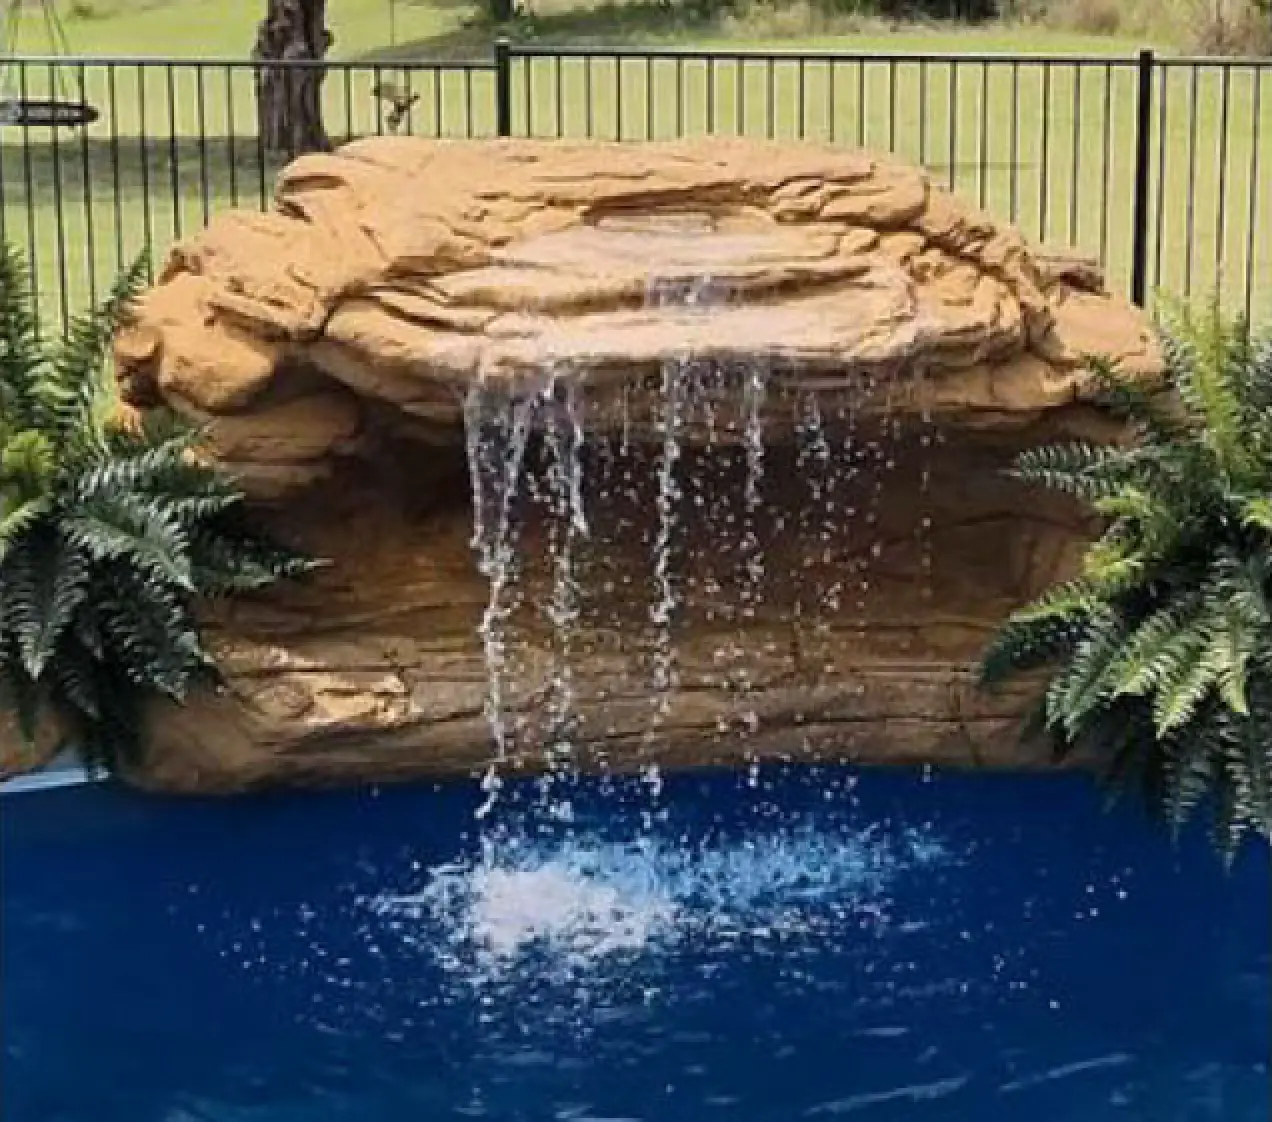
Dress up surrounding landscape elements, open your pool equipment return gate valve, kick on the system pump, and enjoy your new paradise view!